With Lagutta, you can define tags and assign them to specific items, and then select them during the sales process in the Lagutta POS app.
Tags are commonly used to mark specific conditions like Coffee Stain, Grease Stain, or Ink Stain, so that employees are aware of the type of treatment needed.
They can also be used to define cleaning preferences such as Wet Cleaning or Dry Cleaning, or to indicate existing damages like Zipper Damaged, Button Missing, or Hole in Garment.
Tags are printed on receipts and labels, making them visible throughout the cleaning workflow and helping ensure accuracy during processing.
Step-by-Step Guide to Adding a New Tag
1. Log in to Lagutta Back Office
2. Navigate to Tags
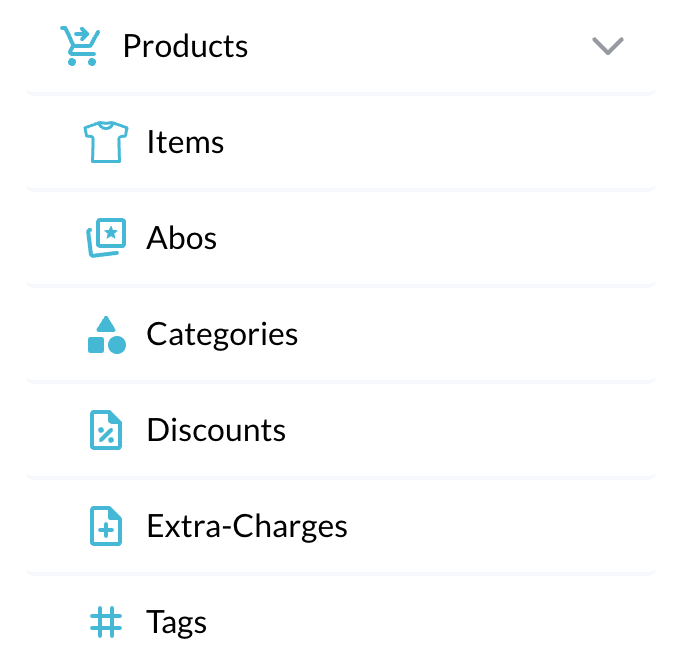
In the left-hand navigation menu, go to the Products section and select Tags.
Here, you’ll see a list of all existing tags.
3. Create a New Tag
Click the + Add button to create a new tag.
A configuration window will open where you can define the settings.
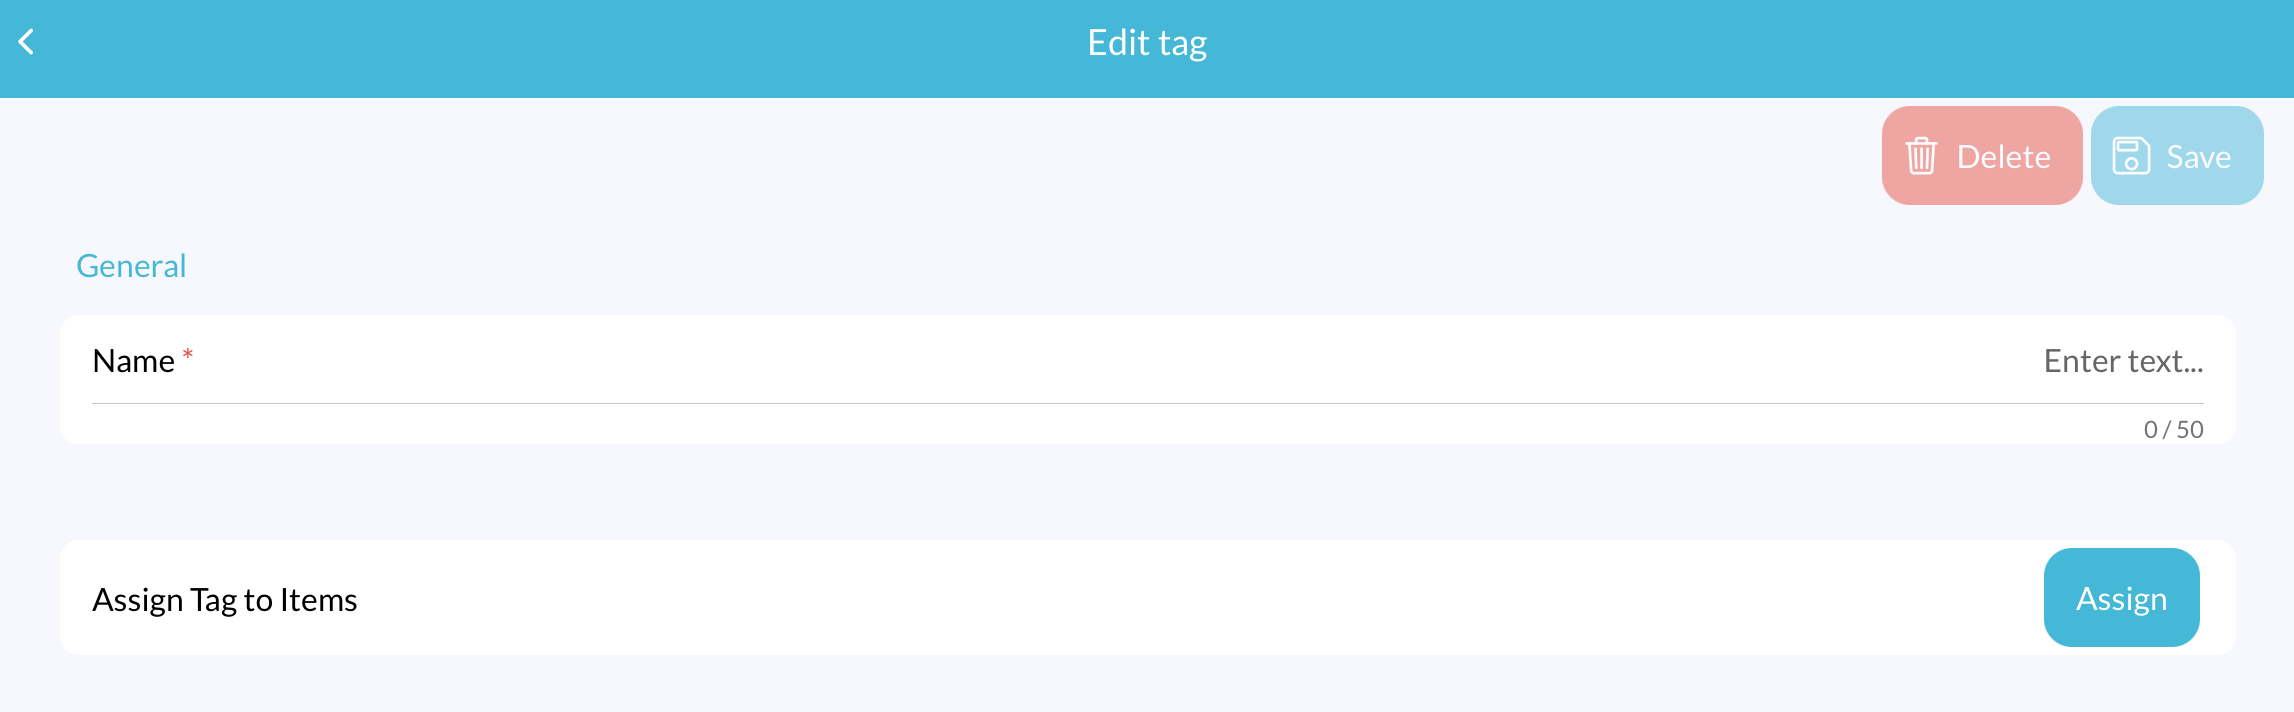
Tag Settings
- Name: Enter a name for your tag (e.g., Coffee Stain, Grease Stain, Dry Cleaning, Wet Cleaning, Zipper Damaged).
- Assign Tag to Items: Click the Assign button to open a popup window listing all your items. Select the items where this tag should be available and click Confirm.
4. Save the Tag
After entering all required information, click the Save button to add the tag.
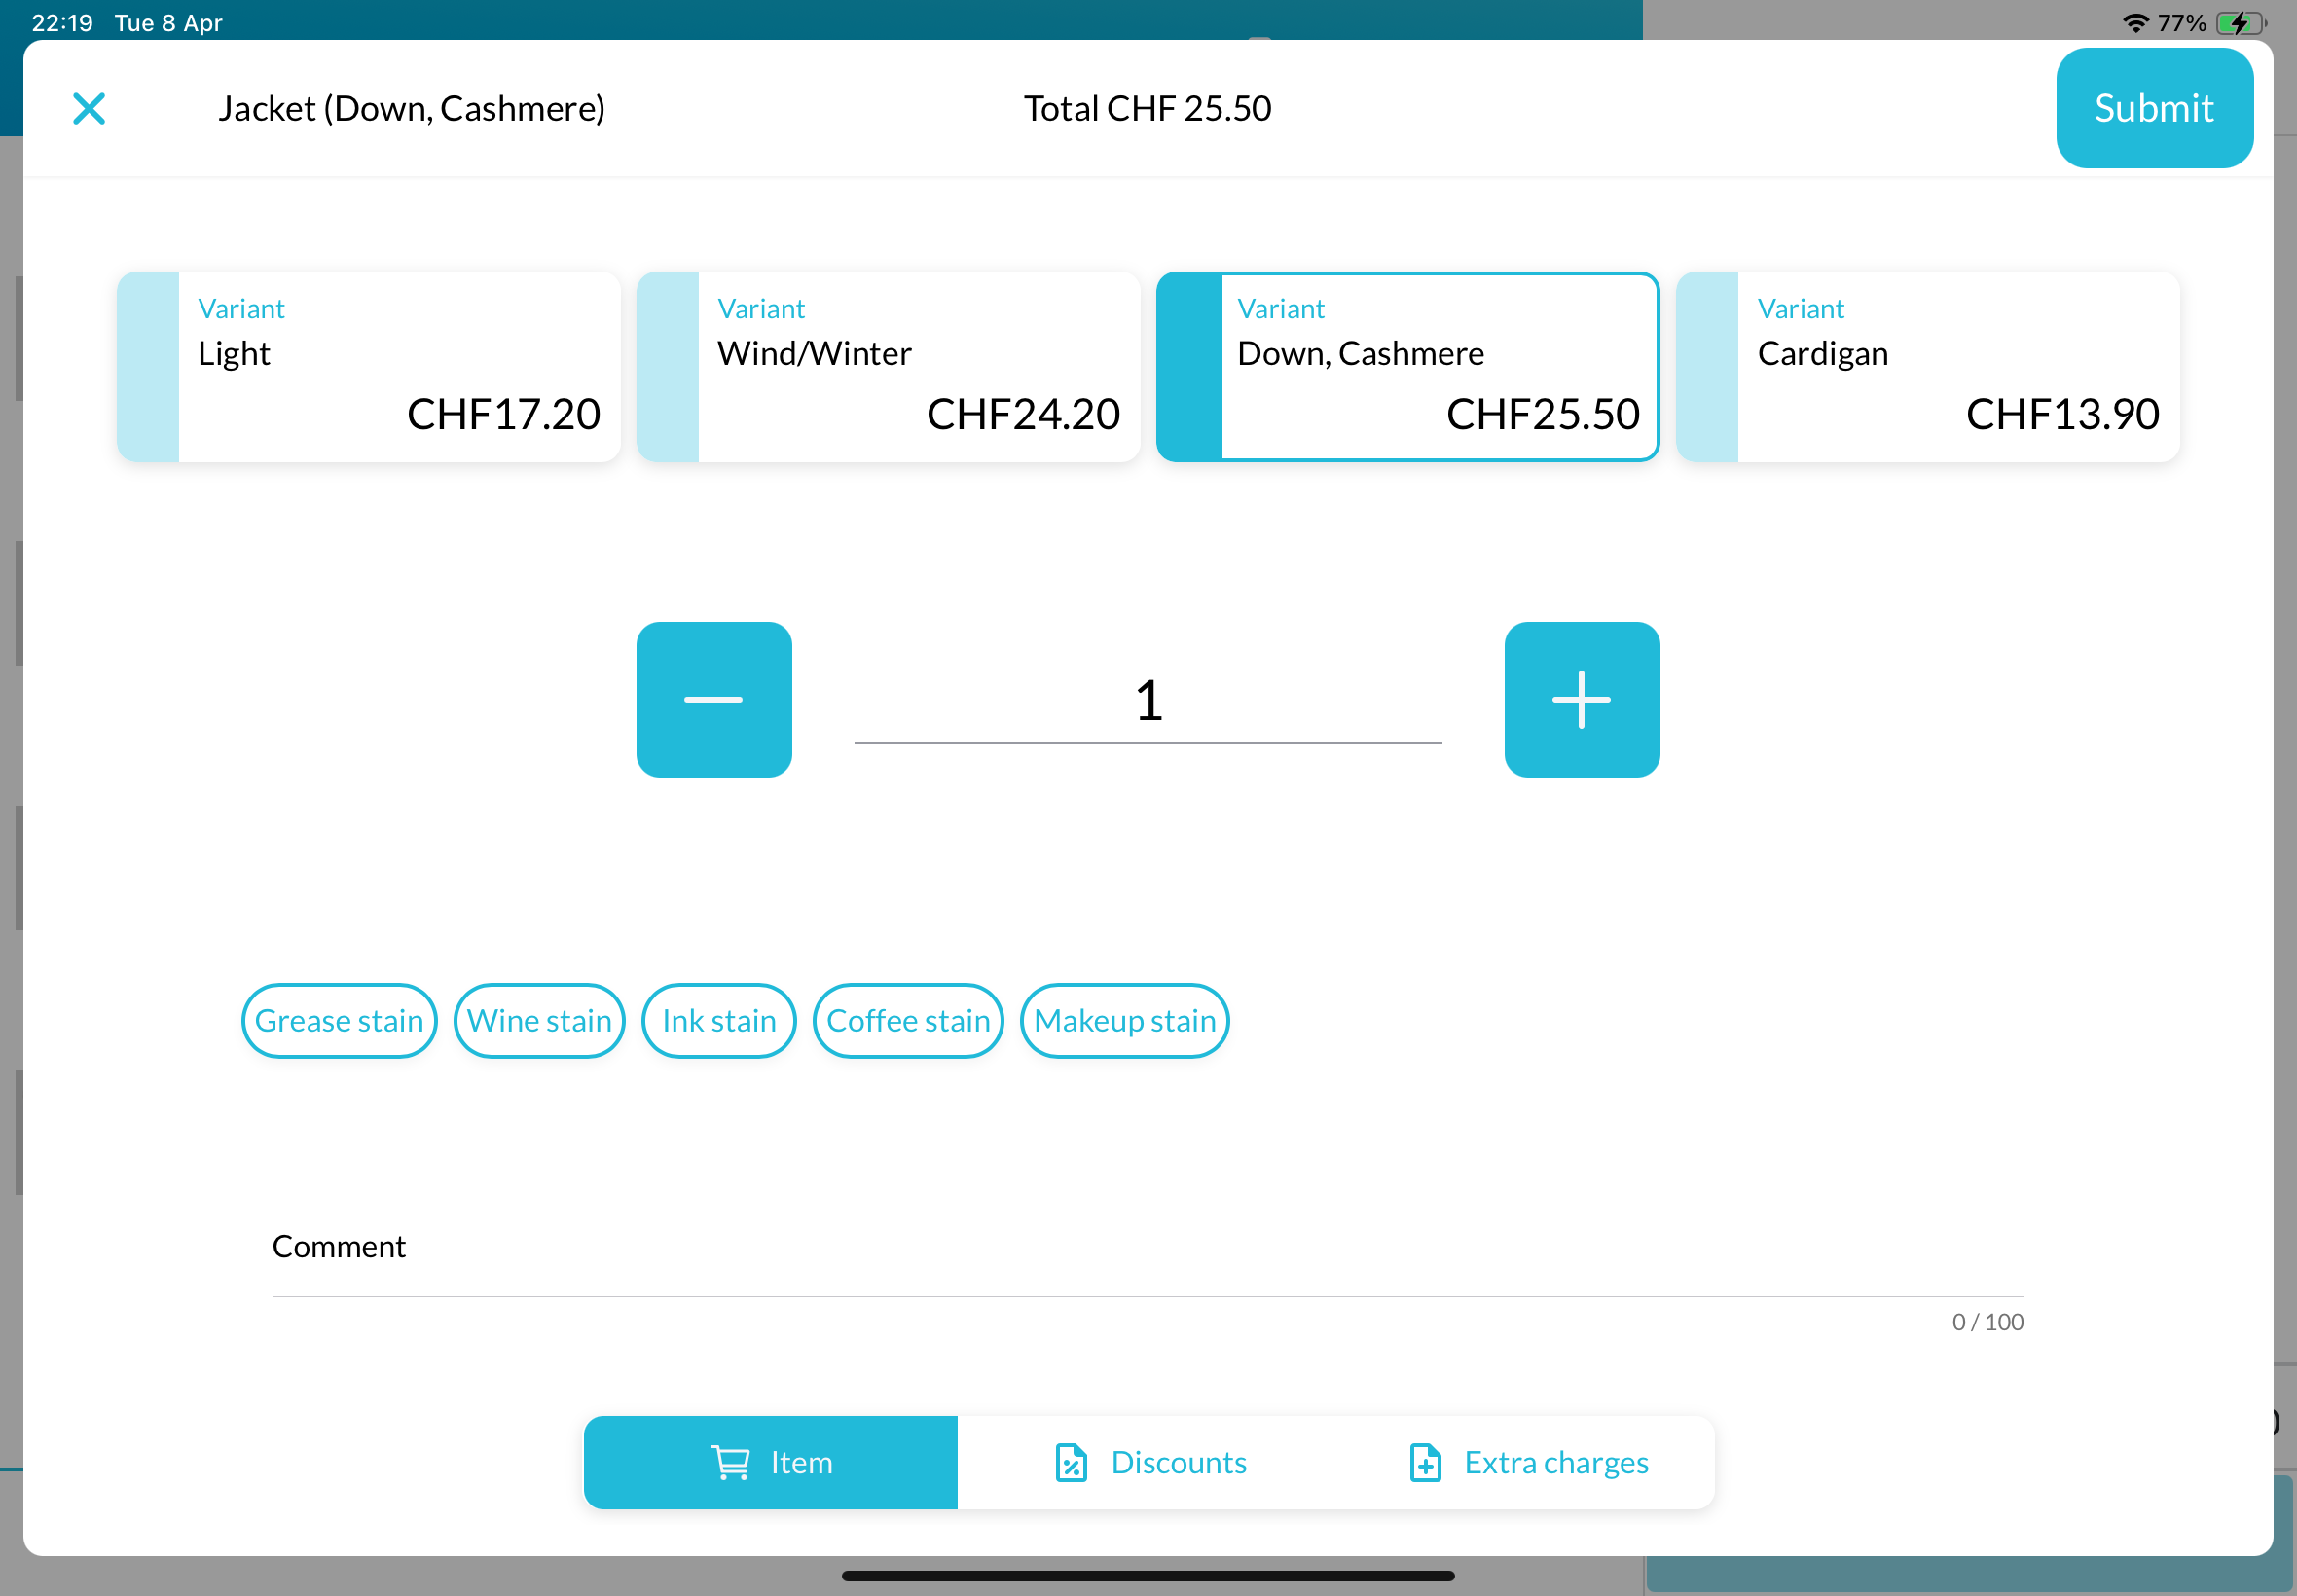
Check the Tag in the Lagutta POS App
Open your Lagutta POS app. Select one of the items you assigned the tag to. In the Item Details window, below the quantity selector, you will see all available tags for this item. The newly created tag should now be visible there.
If the tag is not immediately visible, tap the Menu icon in the POS and select Synchronize to refresh and load the latest updates.