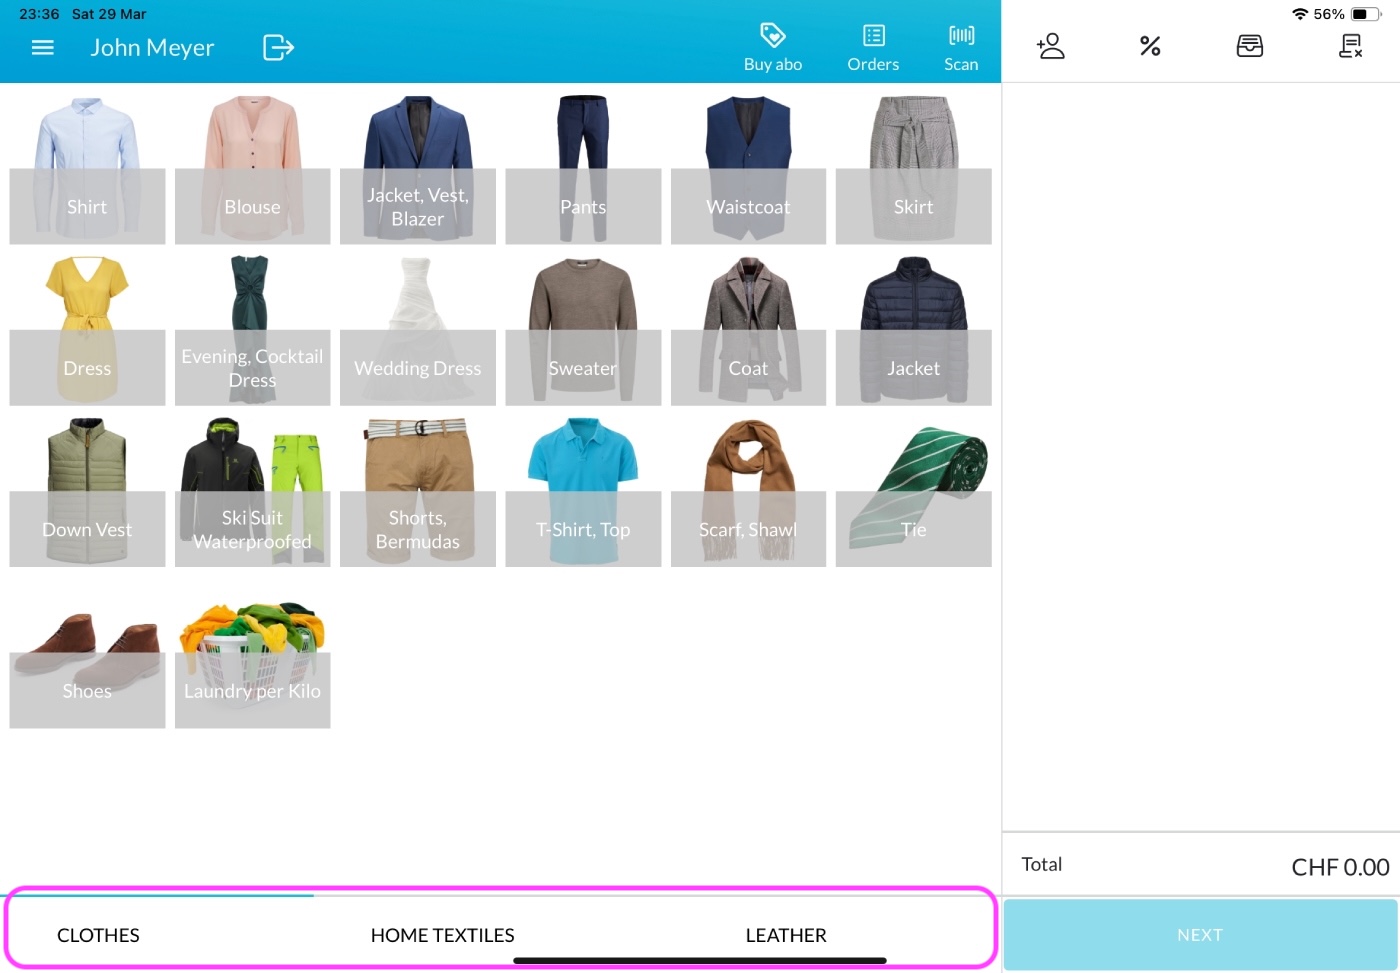
With Lagutta, you can assign items to categories for better organization and faster sales processing. Categories appear as tabs at the bottom of the sales screen in the Lagutta POS app, allowing for quick and intuitive navigation between item groups.
Step-by-Step Guide to Adding a New Category
1. Log in to Lagutta Back Office
2. Navigate to Categories
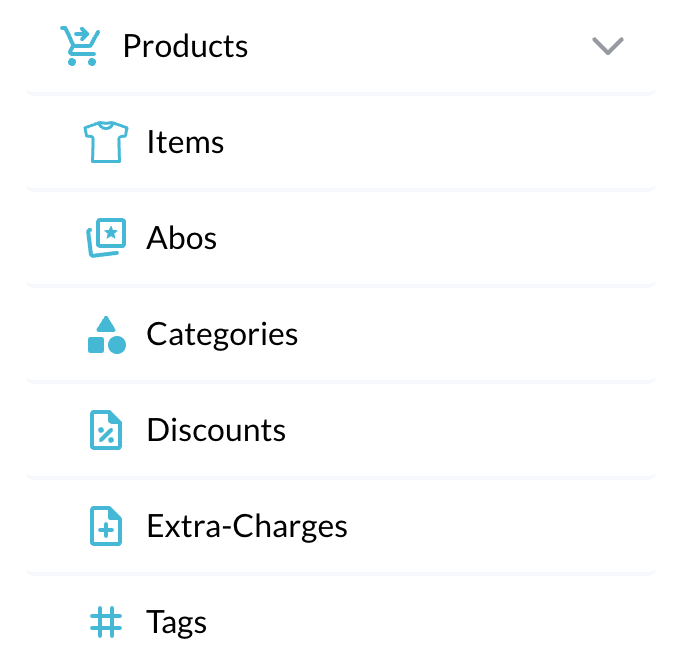
In the left-hand navigation menu, go to the Products section and select Categories.
Here, you’ll see a list of all existing categories.
3. Create a New Category
Click the + Add button to create a new category.
A configuration window will open where you can define the category settings.
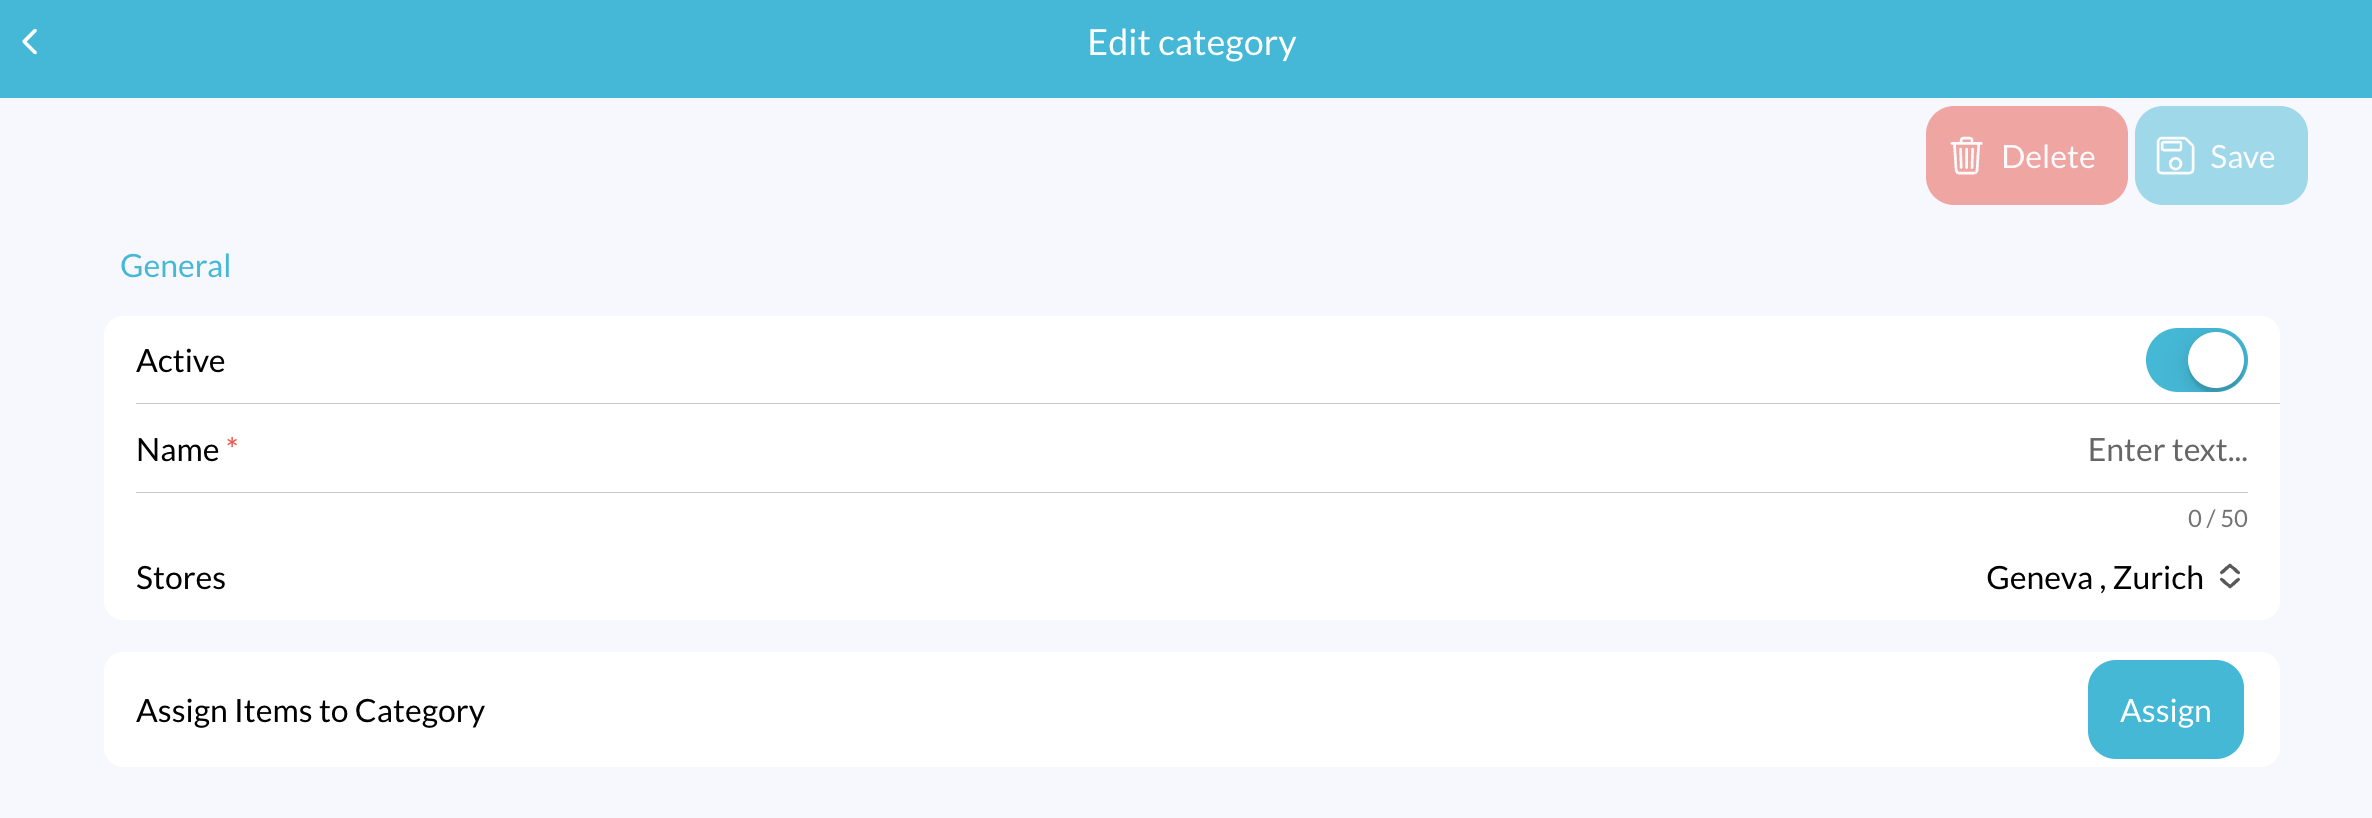
Category Settings
- Active: Toggle this ON to make the category visible in the POS. If disabled, it will not appear in the app.
- Name: Enter a name for your category.
- Stores: Select the store(s) where this category should be available.
- Assign Items to Category: Click the Assign button to open a popup window with all your items. Select the items you want to include in this category and click Confirm.
4. Save the Category
After entering all the necessary information, click the Save button to add the category.
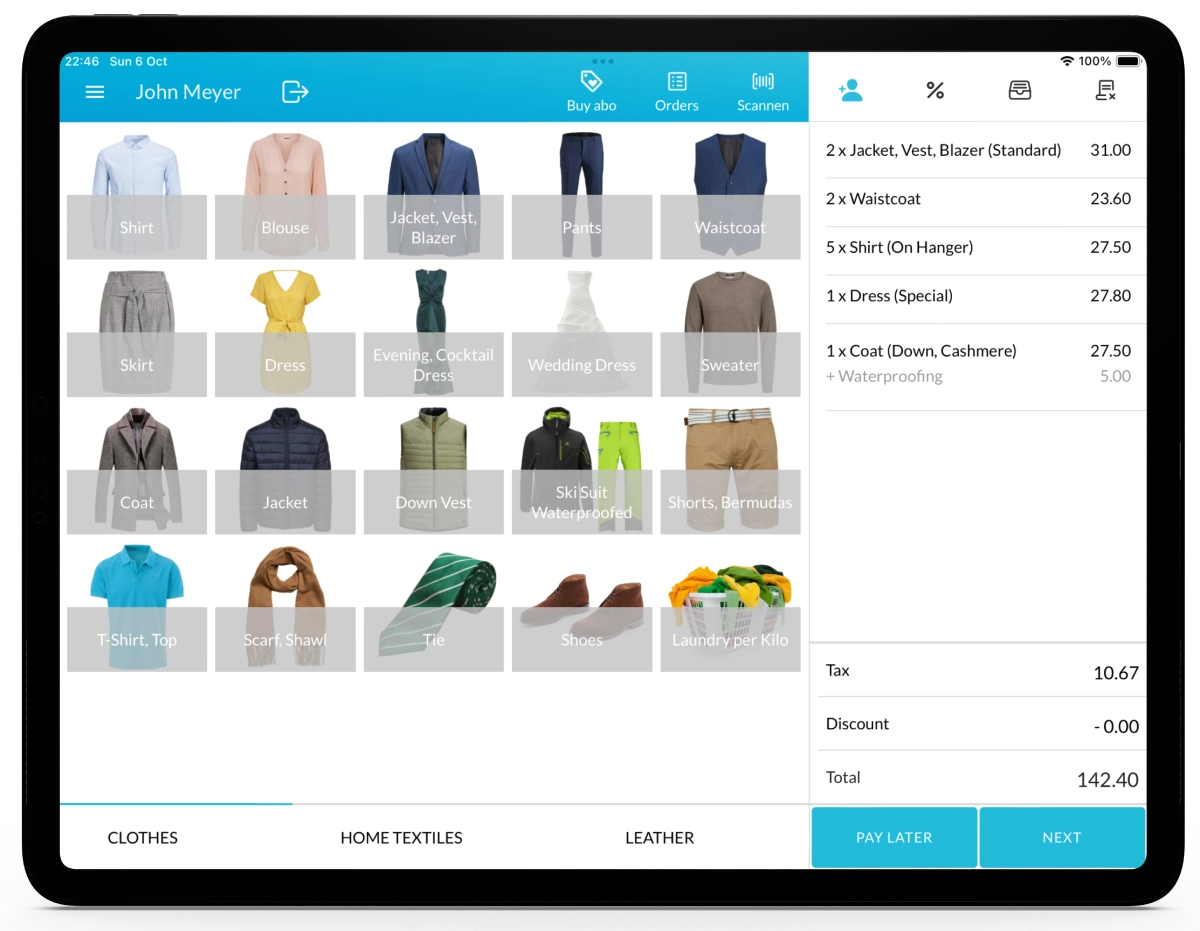
Check the Category in the Lagutta POS App
Open your Lagutta POS app. The newly created category should now appear as a tab at the bottom of the sales screen.
If the category is not immediately visible tap the Menu icon in the POS and select Synchronize to refresh and load the latest updates