With Lagutta POS, you can easily rearrange and reorganize the positions of your Items, Categories, Subscription Plans (Abos), Extra Charges, Discounts, and Tags on the POS sales screen. Quickly adjust their order from the Lagutta Back Office to streamline your workflow and match your business needs.
Step-by-Step Guide to Rearranging Items, Categories, and More
1. Log in to Lagutta Back Office
Start by logging into the Lagutta Back Office.Lagutta Back Office. Learn How to Access Lagutta Back Office
2. Navigate to Items, Categories, Abos, Discounts, Extra Charges, or Tags
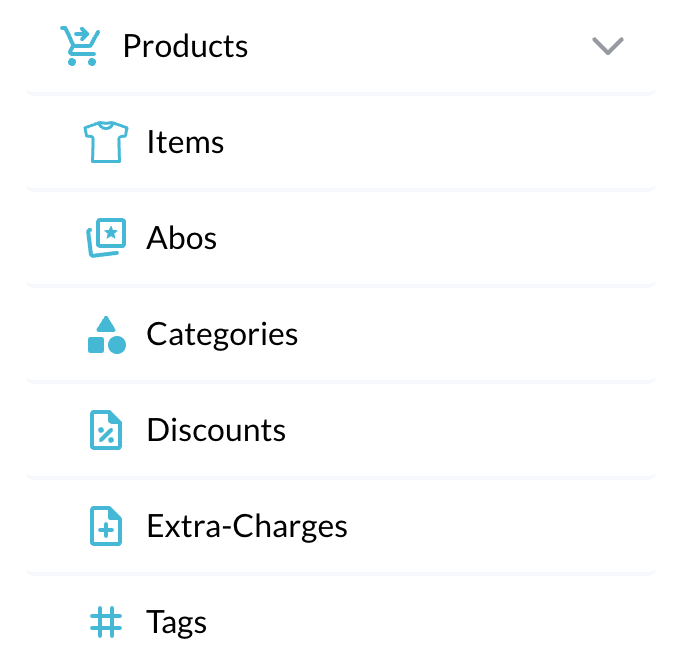
In the left-hand navigation menu, under the Products section, select the type you want to rearrange – whether it’s Items, Categories, Subscriptions (Abos), Discounts, Extra Charges, or Tags.
The rearrangement process is the same for all sections. For this example, we’ll demonstrate using Items.
Example:
- Navigate to Products → Items
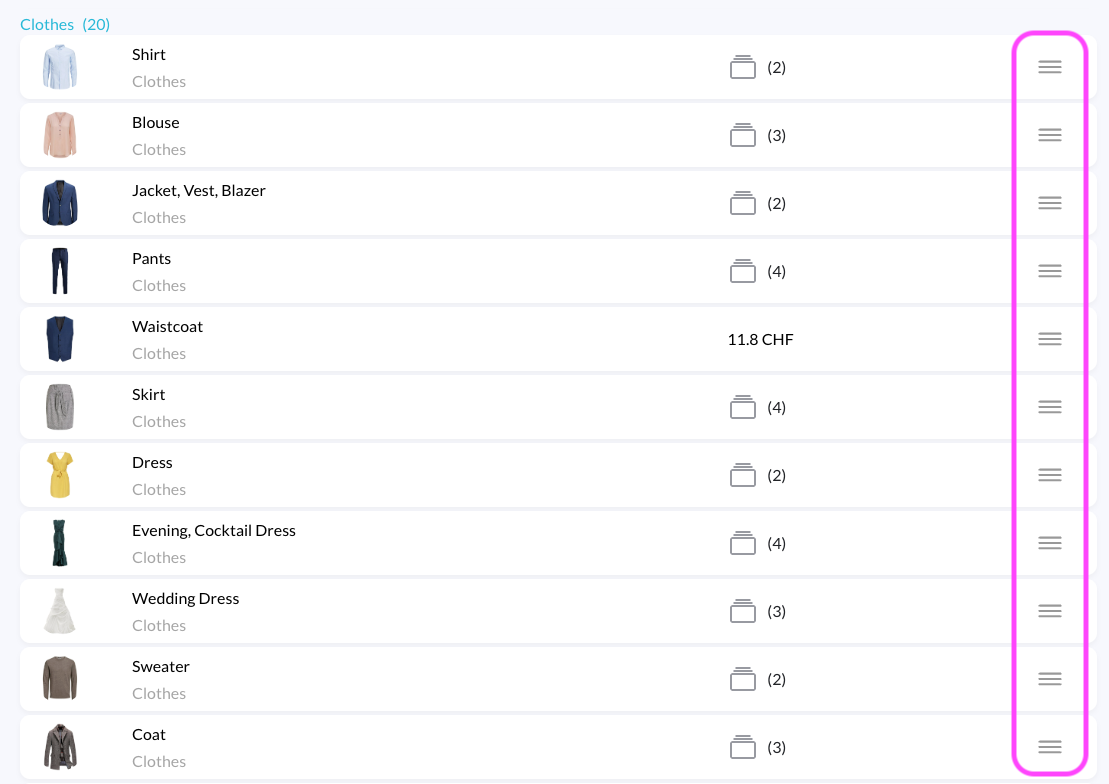
- Here, you’ll see a list of all existing items or services.
3. Rearrange Positions
Each item row has a drag-and-drop icon (three horizontal lines ☰) located on the right-hand side.
- Hold and drag the item using the drag-and-drop icon.
- Move the item to your desired position.
- Release it, and the system automatically saves the new order.
4. Apply Changes to the POS
Once you’ve completed rearranging:
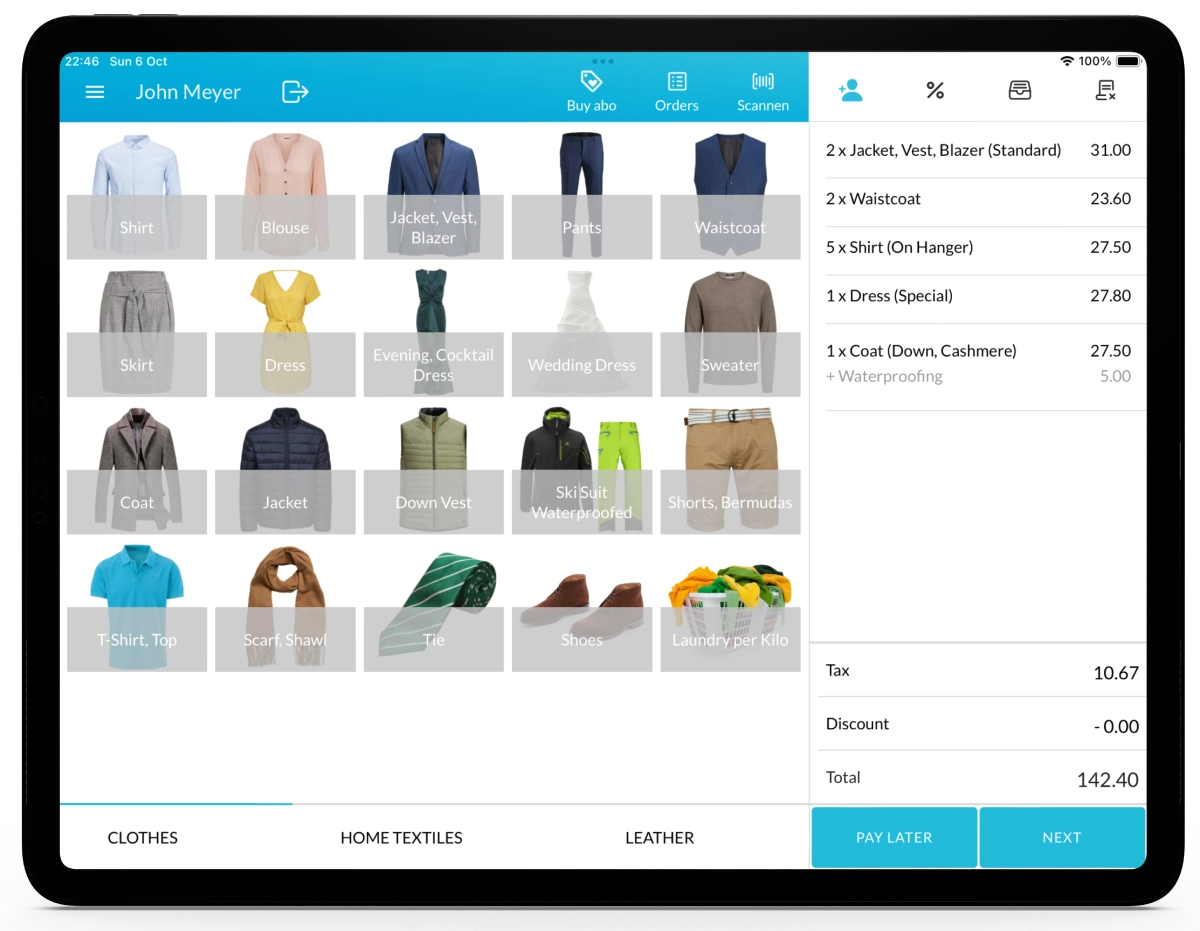
- Open your Lagutta POS app.
- If the new positions aren’t visible, tap the Menu icon, then tap Synchronize to update the changes.
Your POS will now display the updated item arrangements.