With Lagutta POS, you can configure multiple payment methods to suit your business needs. Easily add, edit, and assign payment options to your stores.
Step-by-Step Guide to Configuring Payment Methods
1. Log in to Lagutta Back Office
To begin, log in to the Lagutta Back Office. Learn How to Access Lagutta Back Office
2. Navigate to the Payment Methods Section
In the left-hand navigation menu, go to the Settings section and select Payment Methods.
Here, you will see a list of all existing payment methods.

- Click the + Add button to create a new payment method.
- A new payment method configuration window will open.
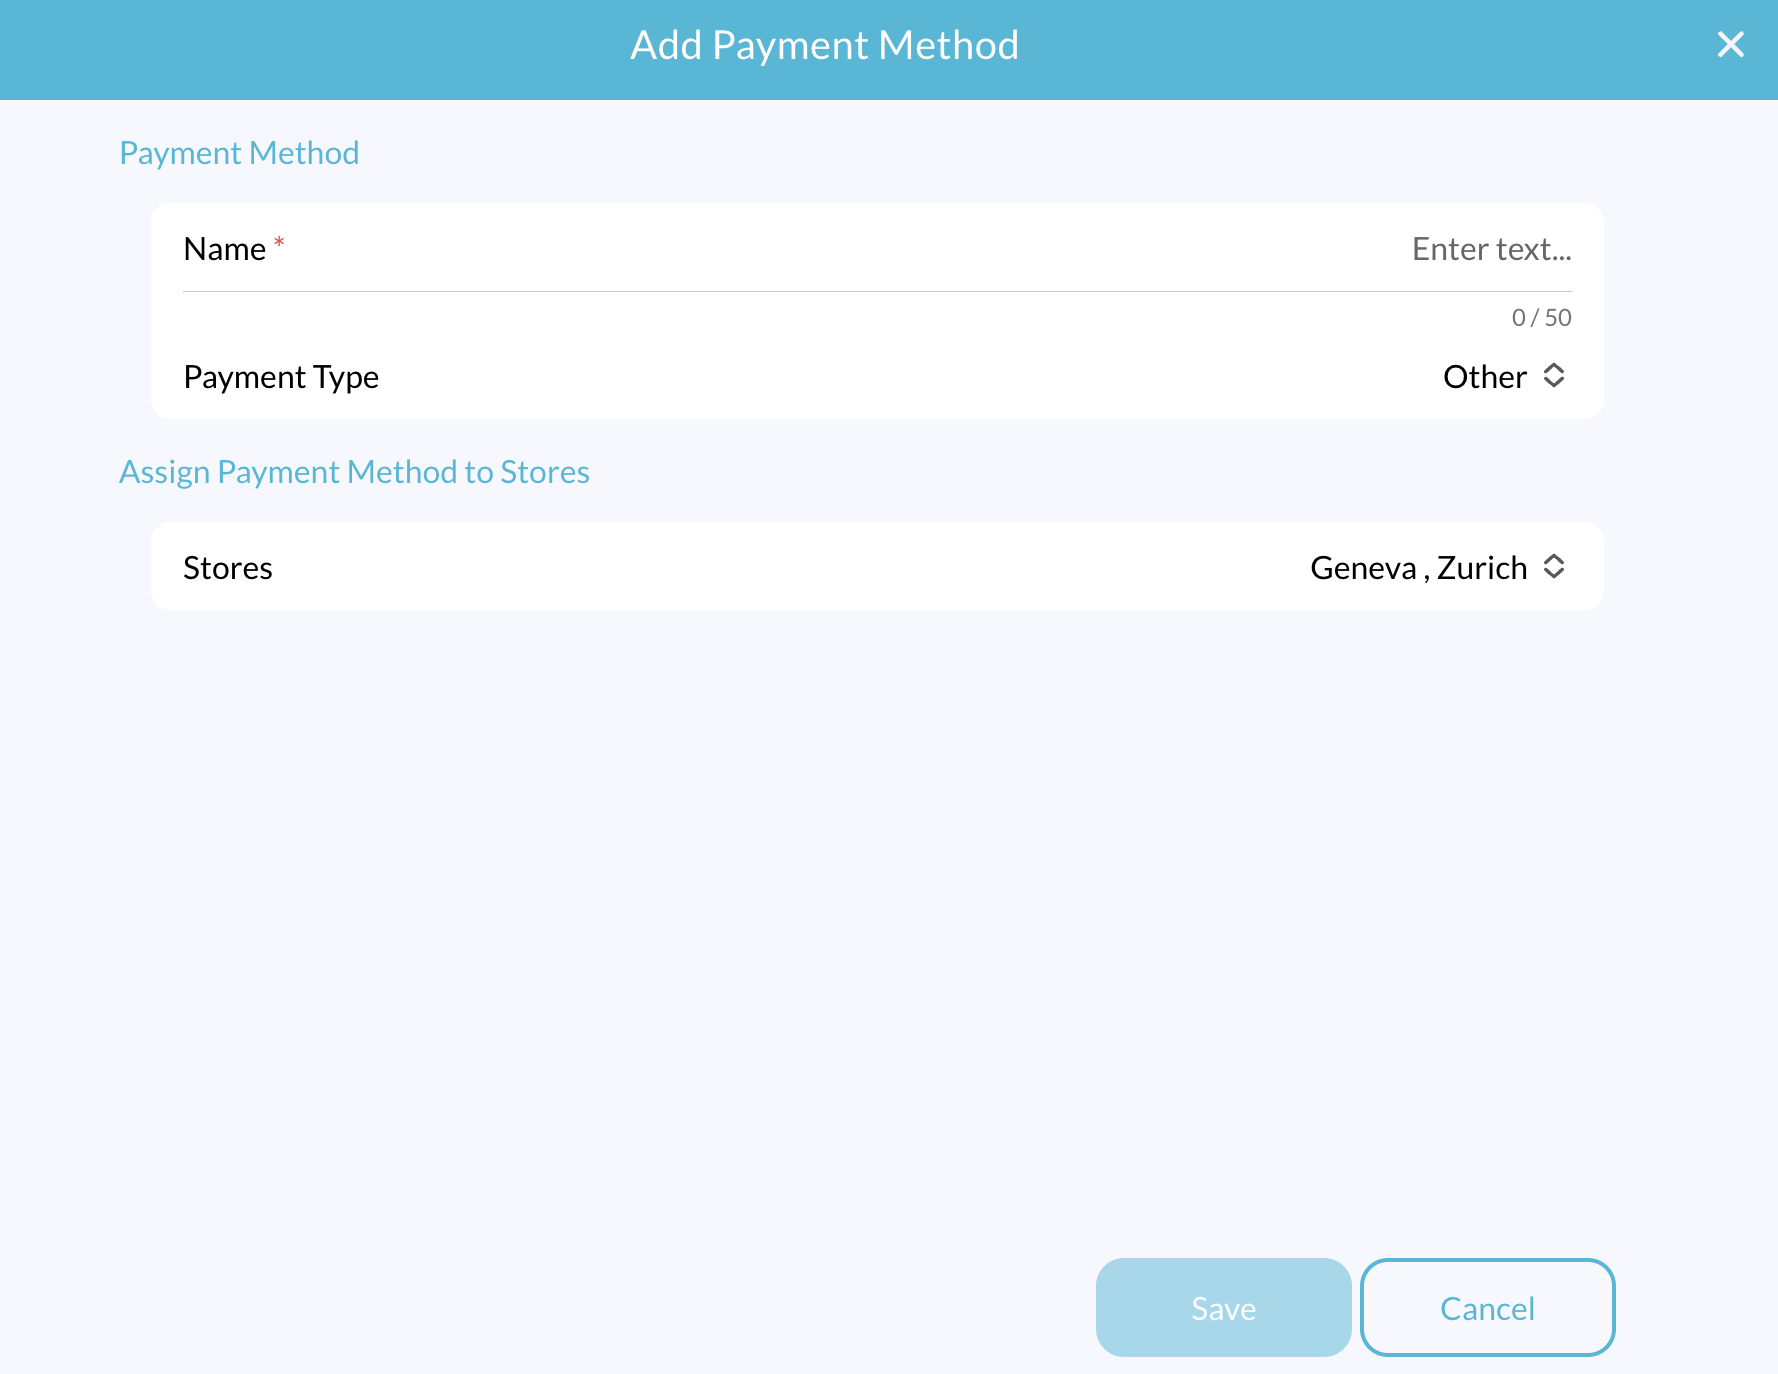
3. Define Payment Method Details
- Name: Enter the name of the payment method.
- Payment Type: Select the desired payment type from the dropdown list.
The available payment types are:
Cash: Standard cash payment method.
- Note: Only one cash payment method can be set up per account.
Invoice: Marks an order as paid via invoice. You can later generate and send invoices based on orders recorded under this payment method.
- Note: Only one invoice payment method can be set up per account.
Card: Used for Card payments processed through a standalone payment terminal that is not integrated into Lagutta POS.
- Example: The cashier selects “Card Payment” in the POS, then manually enters the payment amount into the external terminal. The system records the payment as a card transaction but does not store transaction details.
SumUp: Integrate your SumUp payment account with Lagutta POS to accept credit and debit card payments through a connected SumUp terminal.
- With integrated SumUp, the cashier selects SumUp as the payment method, and the system automatically transfers the payment amount to the terminal for processing. Learn How to Connect and Configure SumUp Payments
Other: For country-specific or additional payment methods that are not listed. This option allows the system to register payments under a generic “Other” category.
4. Assign Payment Methods to Stores
If you have multiple stores, you can assign the payment method to specific stores.
5. Save and Apply
- Click the Save button to finalize the setup.
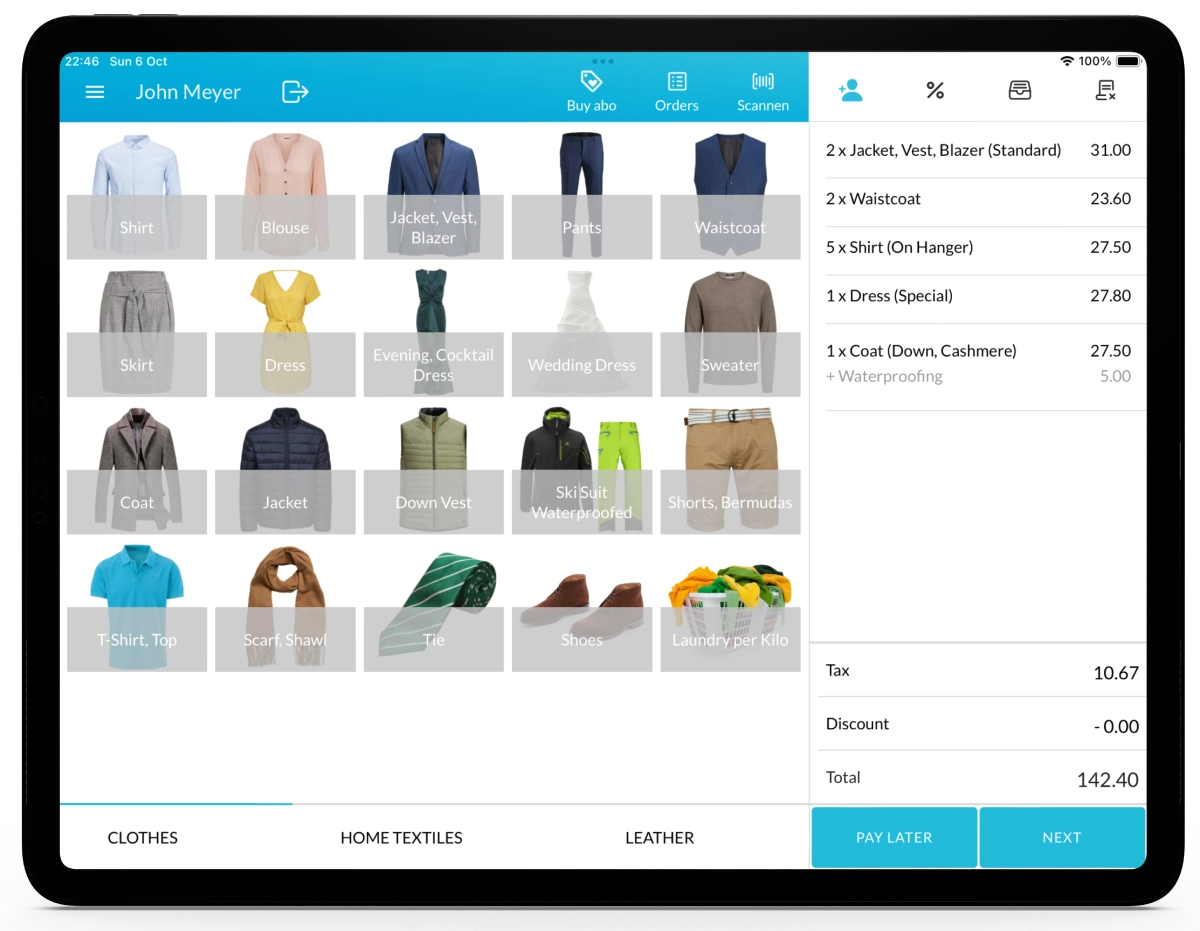
- Once saved, the new payment method will appear in the POS system on the payment page during checkout.