With Lagutta POS, you can create quantity-based discounts and assign them to specific items. This allows you to automatically reward customers when they purchase larger quantities of the same item — for example, offering 10% off or 1 EUR off if they bring more than 5 shirts.
Quantity discounts are a great way to incentivize bulk purchases, increase average order size, and encourage customer loyalty.
Step-by-Step Guide to Adding a Quantity-Based Discount
1. Log in to Lagutta Back Office
2. Navigate to Discounts
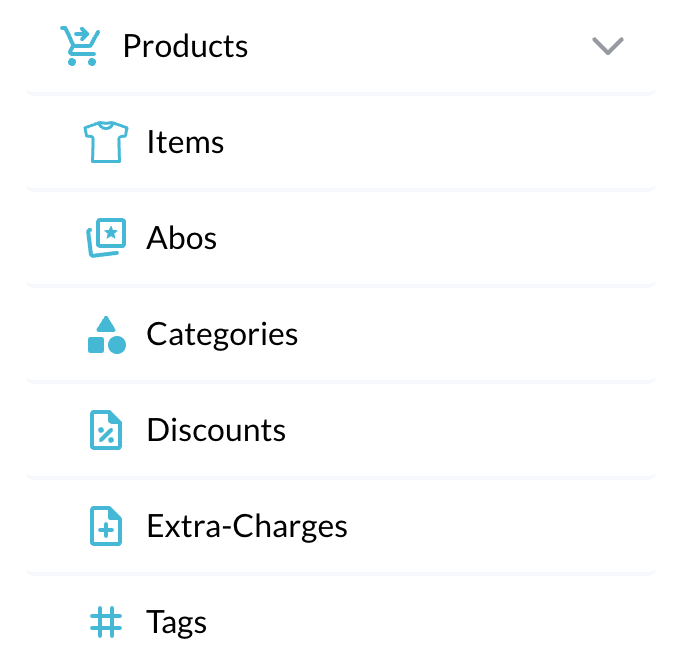
In the left-hand navigation menu, select Products → Discounts.
Here, you will see a list of all existing discounts.
3. Add a New Discount
There are three main types of discounts available:
- Global Order Discount (applies to the entire order)
- Item Discount (applies to specific items)
- Customer Discount (applies to specific customers)
In this guide, we’ll show you how to add an Item Discount, specifically a Quantity-Based Discount. For other types of discounts, please refer to the respective guides.
Click the + Add button to create a new discount. A configuration window will open.
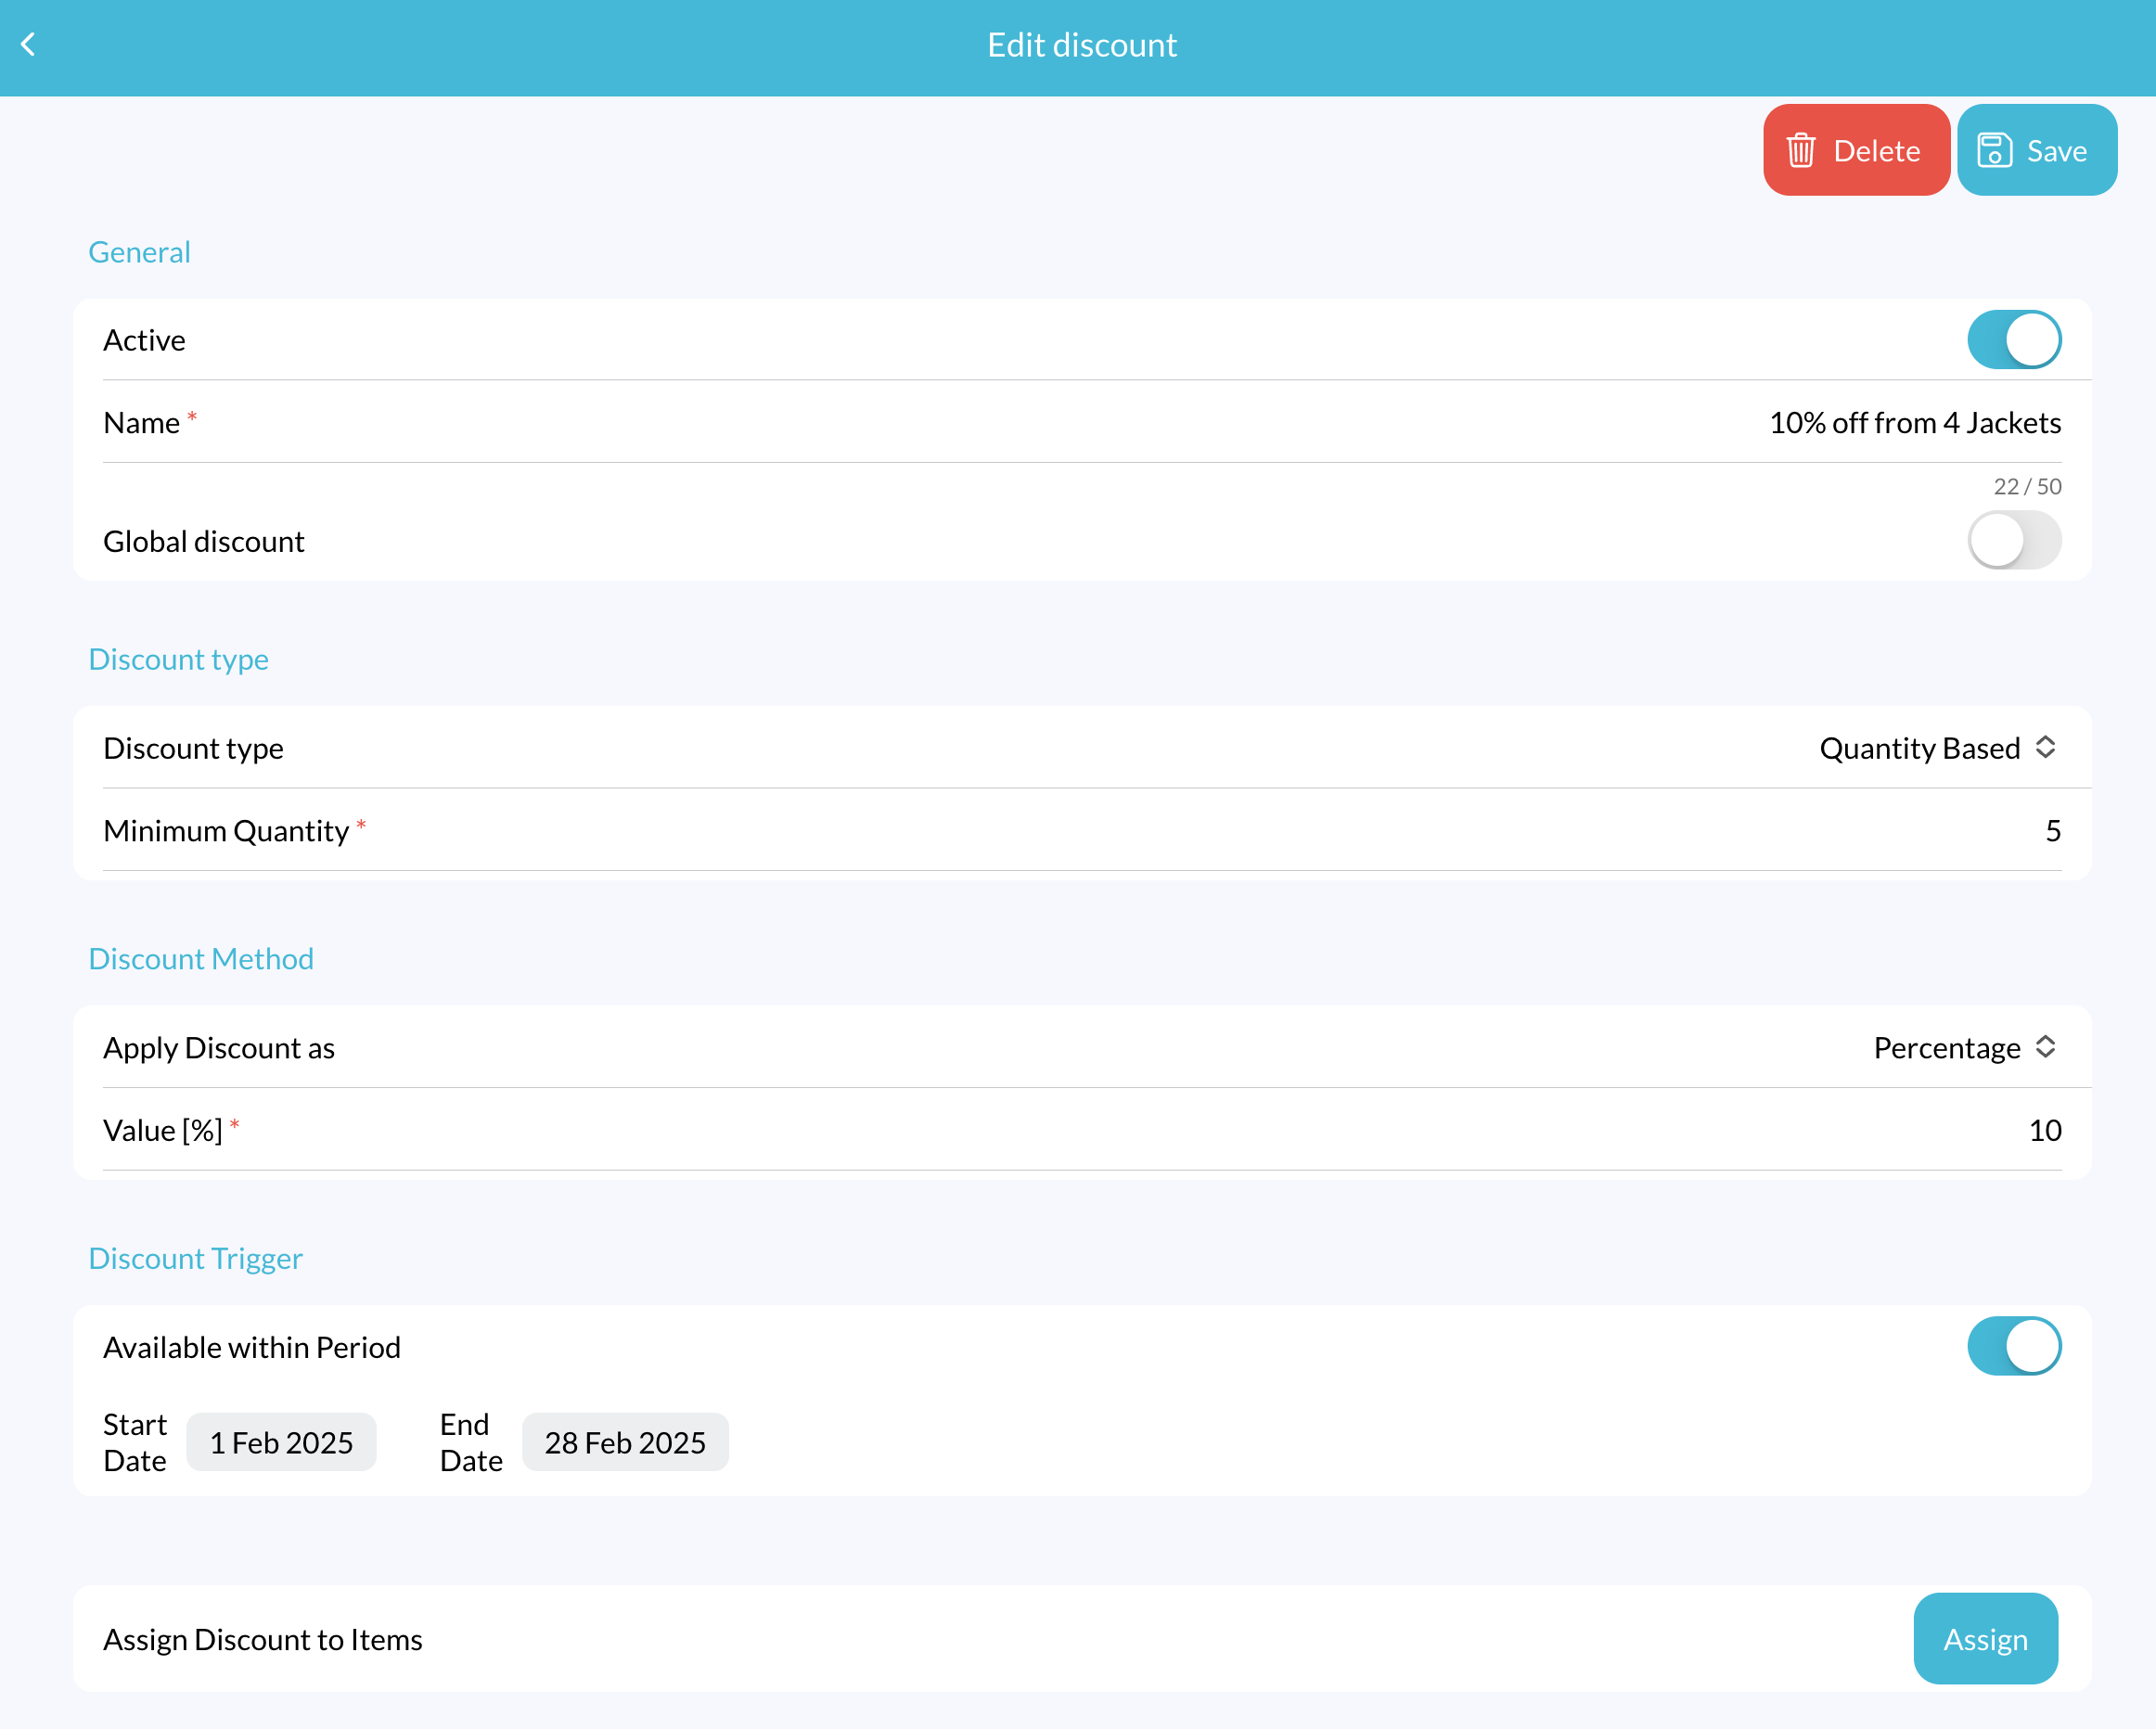
Configure the following fields:
- Active: Toggle this ON to make the discount available in the POS.
- Name: Enter a name for your discount (e.g., “10% off from 4 Jackets” or “1 EUR off from 5 Shirts”).
- Global Discount: Leave this OFF.
- Discount Type: Select Quantity Based from the dropdown.
- Minimum Quantity: Define the minimum quantity after which the discount will be automatically triggered (e.g., 5).
Discount Method:
Apply discount as: Select how the discount will be applied:
- Fixed Amount (e.g., 1.5 EUR)
- Percentage (e.g., 10%)
Value:
- If you selected Fixed Amount, enter the discount amount. (e.g., 1.5).
- If you selected Percentage, enter the discount percentage. (e.g., 10%)
Discount Trigger:
Available Within Period: Enable this option and specify a start date and end date if you want the discount to be active only during a specific time period.
Assign Discount to Items:
Click the Assign button to open a popup window listing all your items. Select the items to which you want to assign the discount, and click Confirm.
4. Save Changes
Once you’ve completed configuring the discount, click Save.
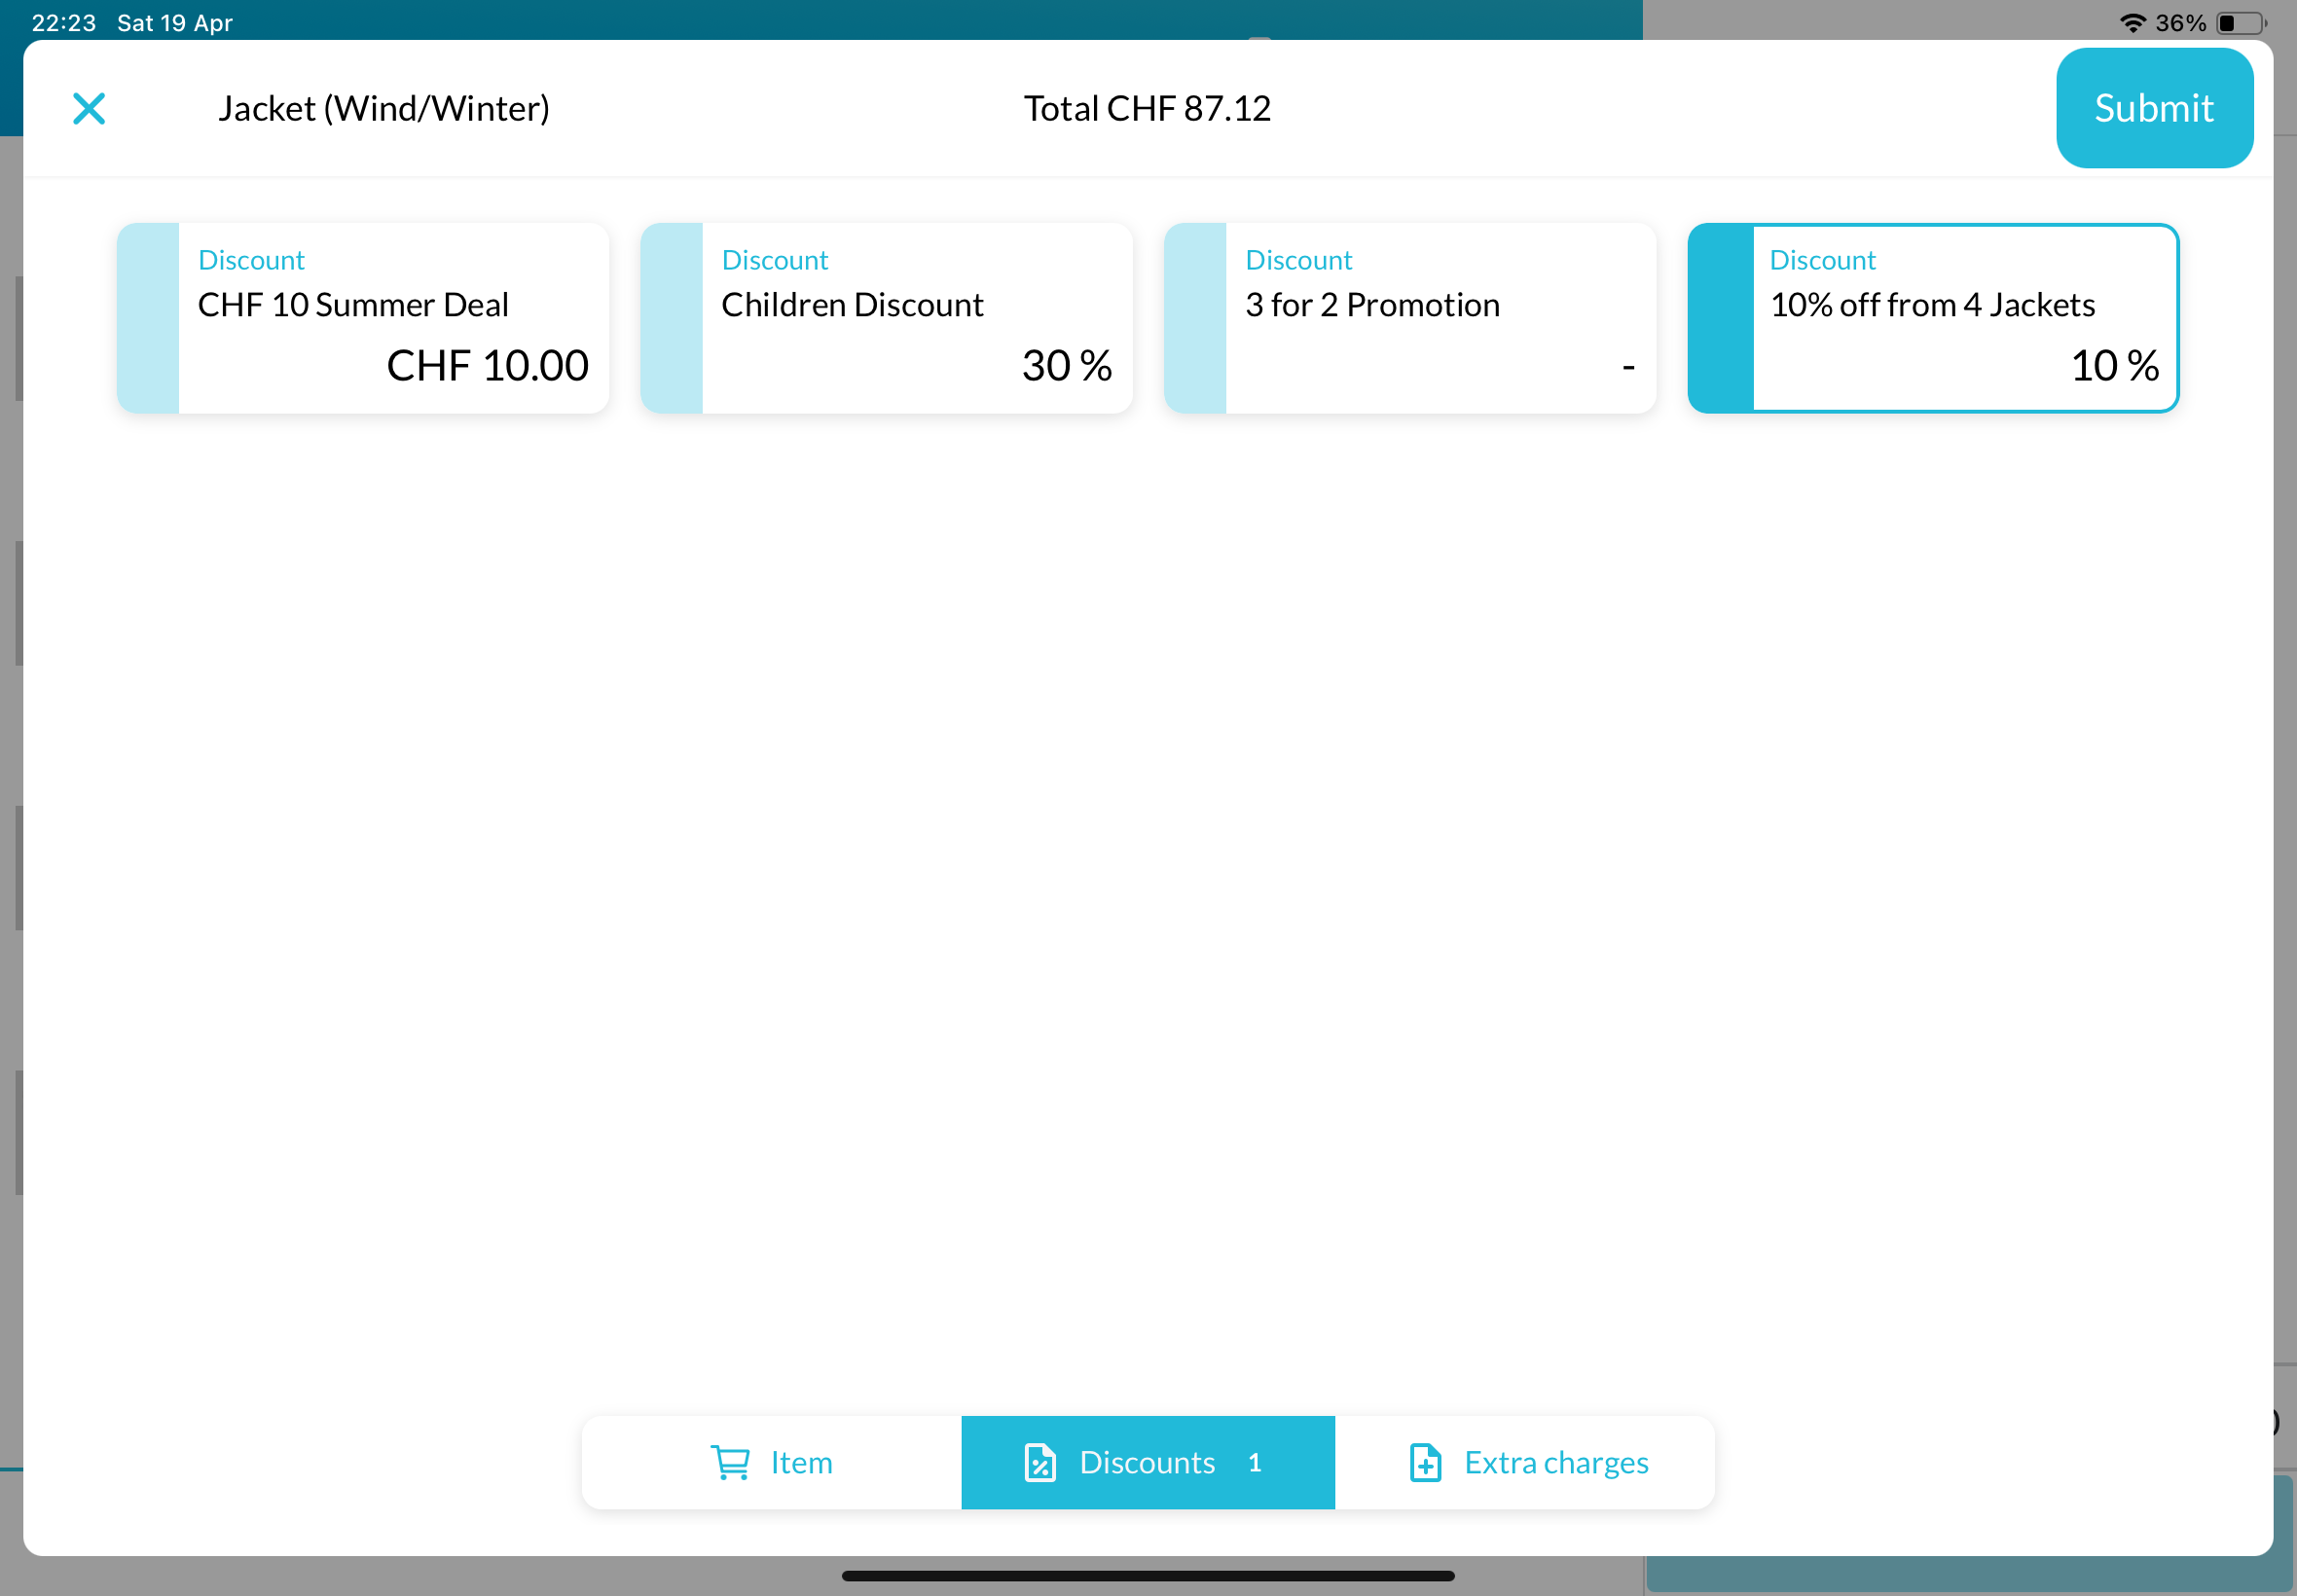
Check Discount on POS
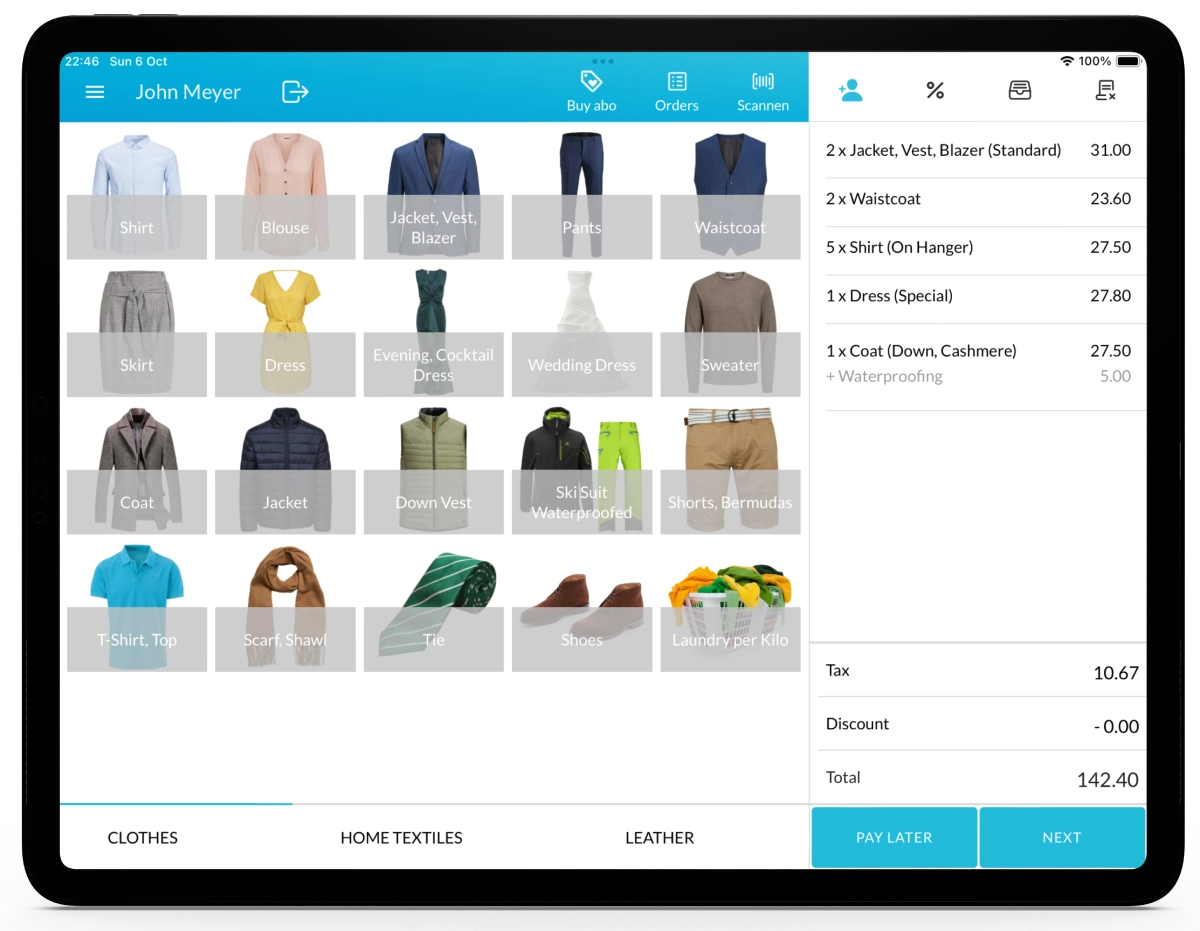
Open your Lagutta POS app.
Select one of the items you assigned the discount to. In the Item Details window, tap on the Discounts tab at the bottom. The newly created discount should now be visible there.
If the discount is not immediately visible:
- Tap the Menu icon in the POS
- Select Synchronize to refresh and load the latest updates.