With Lagutta POS, you can define extra charges and assign them to specific items. For example, if you want to offer your customers a waterproofing service for jackets, you can create an extra charge called “Waterproofing” and assign it to the item “Jacket.”
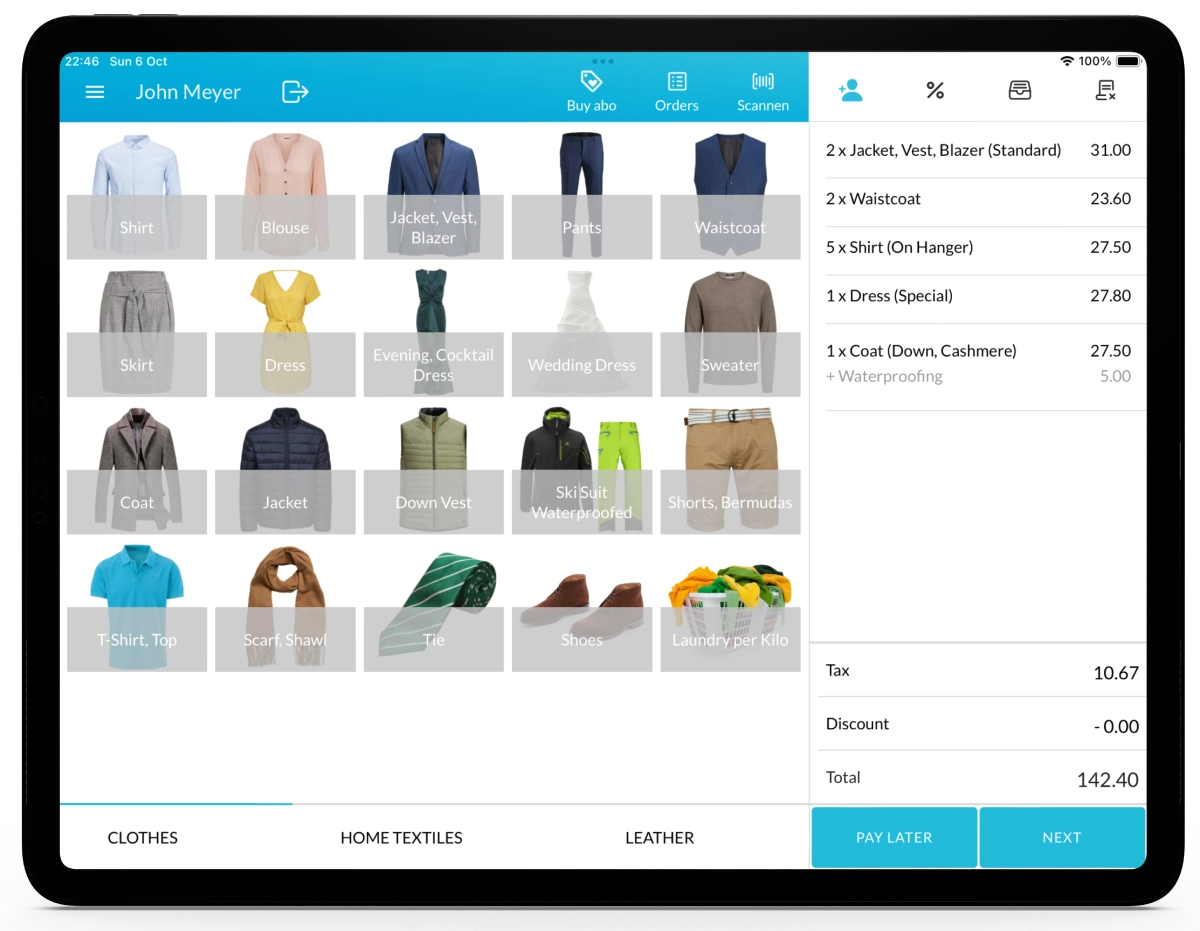
Extra charges are selectable directly during the item selection process in the Lagutta POS app, making it easy to offer additional services or upsells at the time of sale.
Step-by-Step Guide to Adding a New Extra Charge
1. Log in to Lagutta Back Office
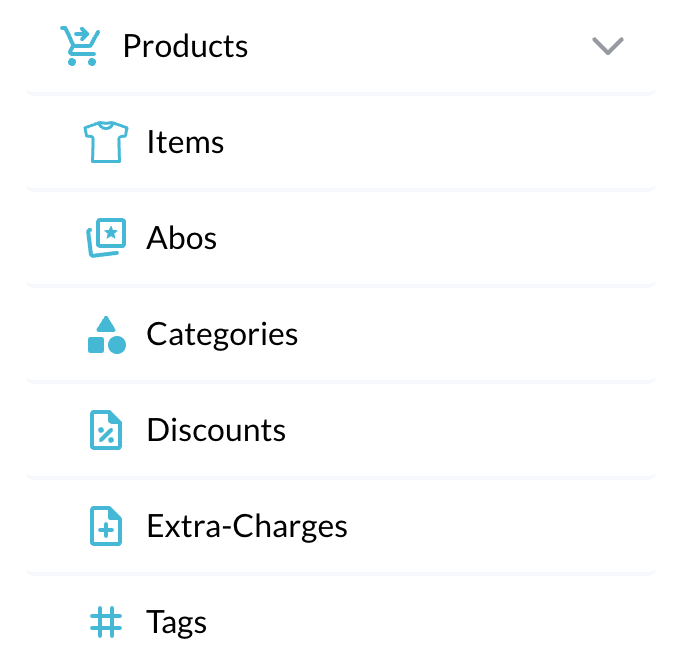
2. Navigate to Extra-Charges
In the left-hand navigation menu, go to the Products section and select Extra-Charges.
Here, you’ll see a list of all existing extra charges.
3. Create a New Extra Charge
Click the + Add button to create a new extra charge.
A configuration window will open where you can define the settings.
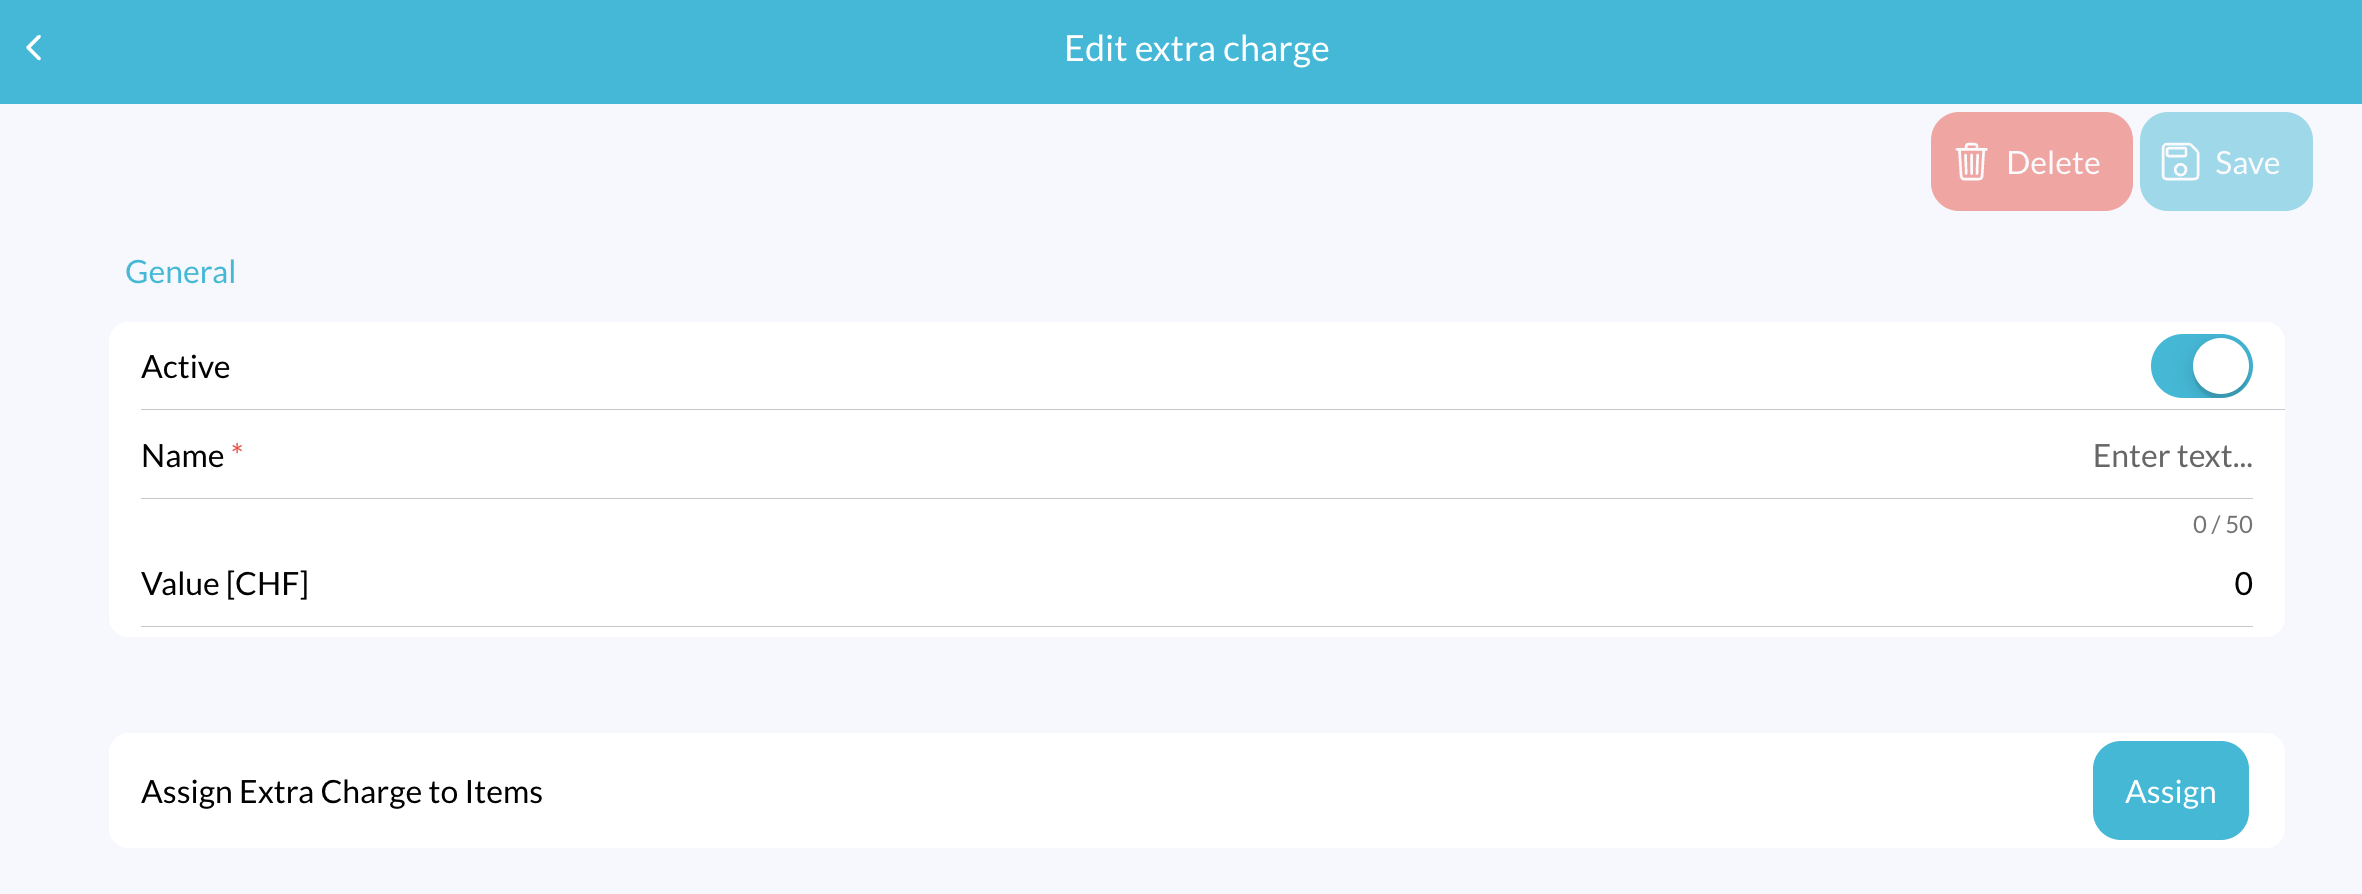
Extra Charge Settings
- Active: Toggle this ON to make the extra charge available in the POS. If disabled, it won’t appear in the app.
- Name: Enter a name for your extra charge (e.g., Waterproofing, Express Service).
- Value: Define the price of the extra charge.
- Assign Extra Charge to Items: Click the Assign button to open a popup window listing all your items. Select the items where this extra charge should be available and click Confirm.
4. Save the Extra Charge
After entering all required information, click the Save button to add the extra charge.
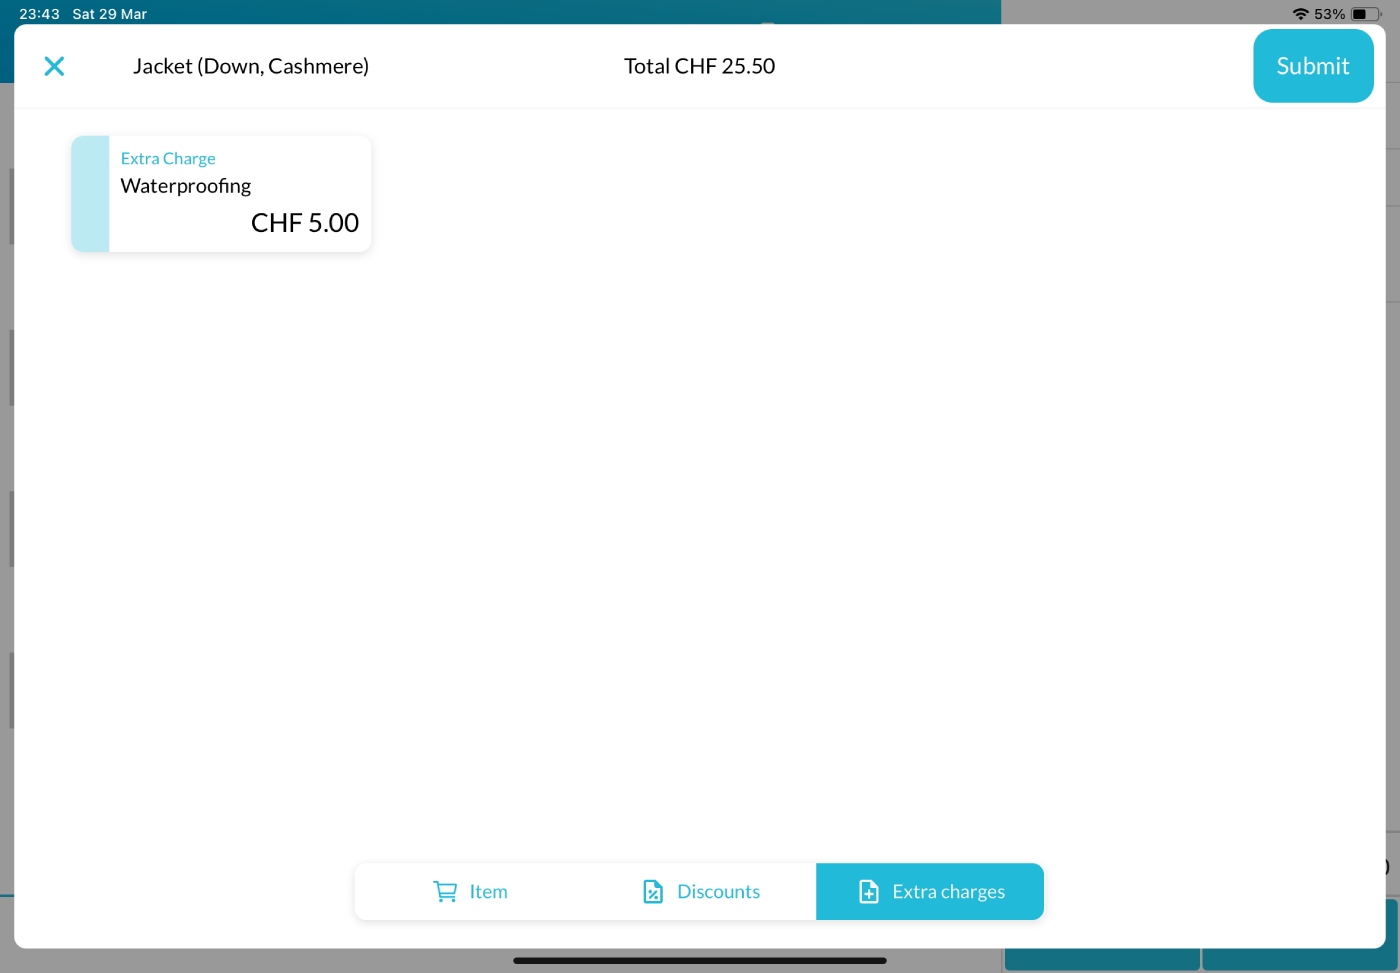
Check the Extra Charge in the Lagutta POS App
Open your Lagutta POS app. Select one of the items you assigned the extra charge to. In the Item Details window tap on the Extra Charges tab at the bottom. The newly created extra charge should now be visible there. Learn How to Apply Extra Charges to an Item when Creating an Order in Lagutta POS
If the extra charge is not immediately visible tap the Menu icon in the POS and select Synchronize to refresh and load the latest updates.