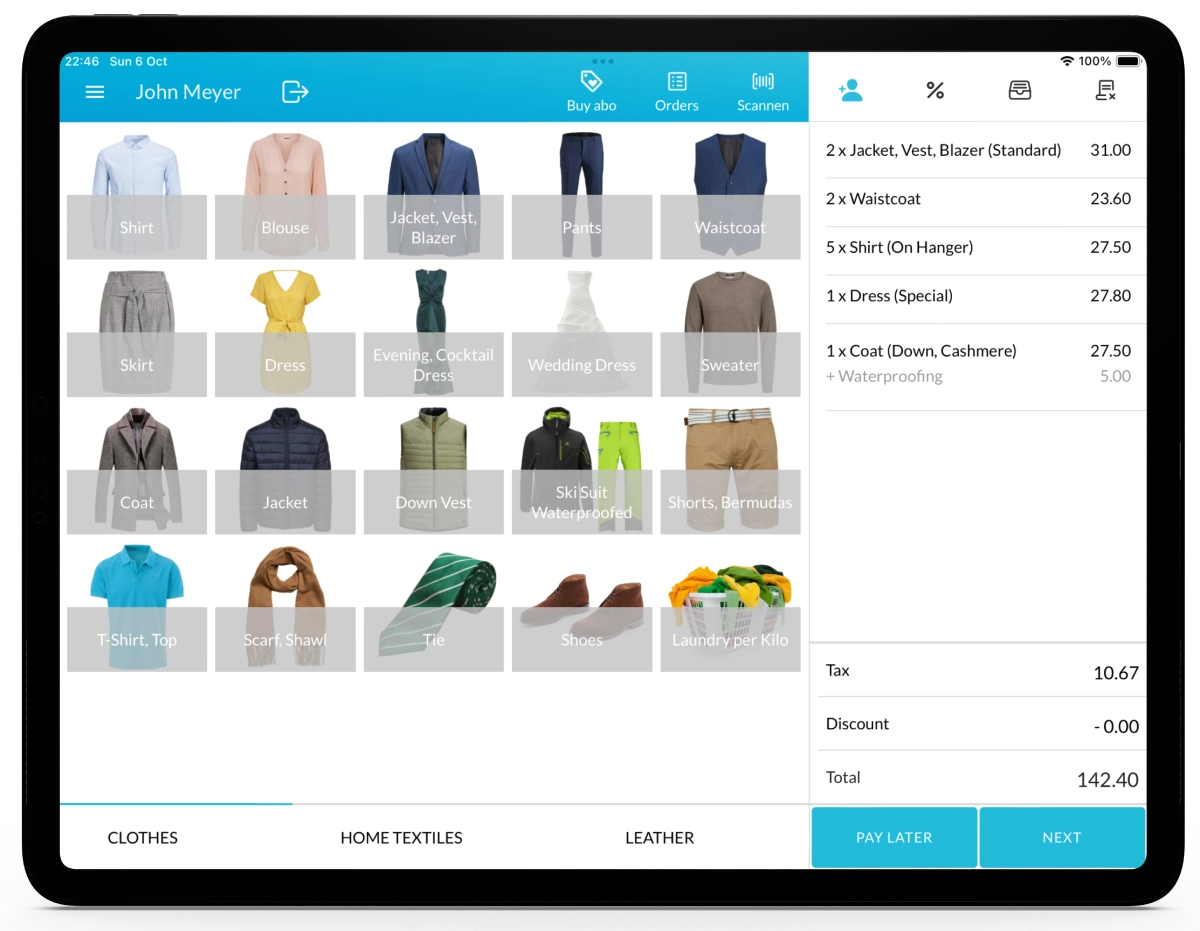
With Lagutta POS, you can efficiently manage your team by adding employees, assigning roles, and defining their access permissions. Employees can be granted access to specific stores and functions based on their responsibilities, ensuring a secure and organized workflow.
Step-by-Step Guide to Adding a New Employee
1. Log in to Lagutta Back Office
To begin, log in to the Lagutta Back Office. Learn How to Access Lagutta Back Office
2. Navigate to the Employee Directory
In the left-hand navigation menu, go to the Employees section and select Employee Directory.
Here, you will find a list of all existing employees.
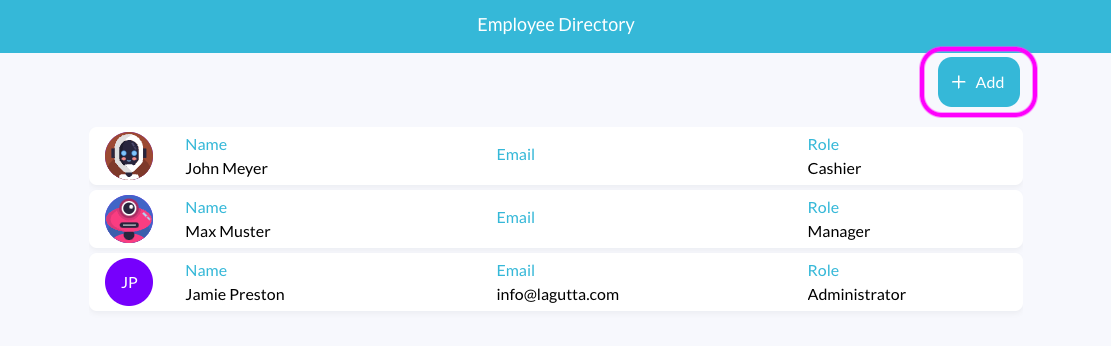
3. Click “+ Add” to Create a New Employee
Click the + Add button to open the New Employee form.
4. Fill in Employee Details
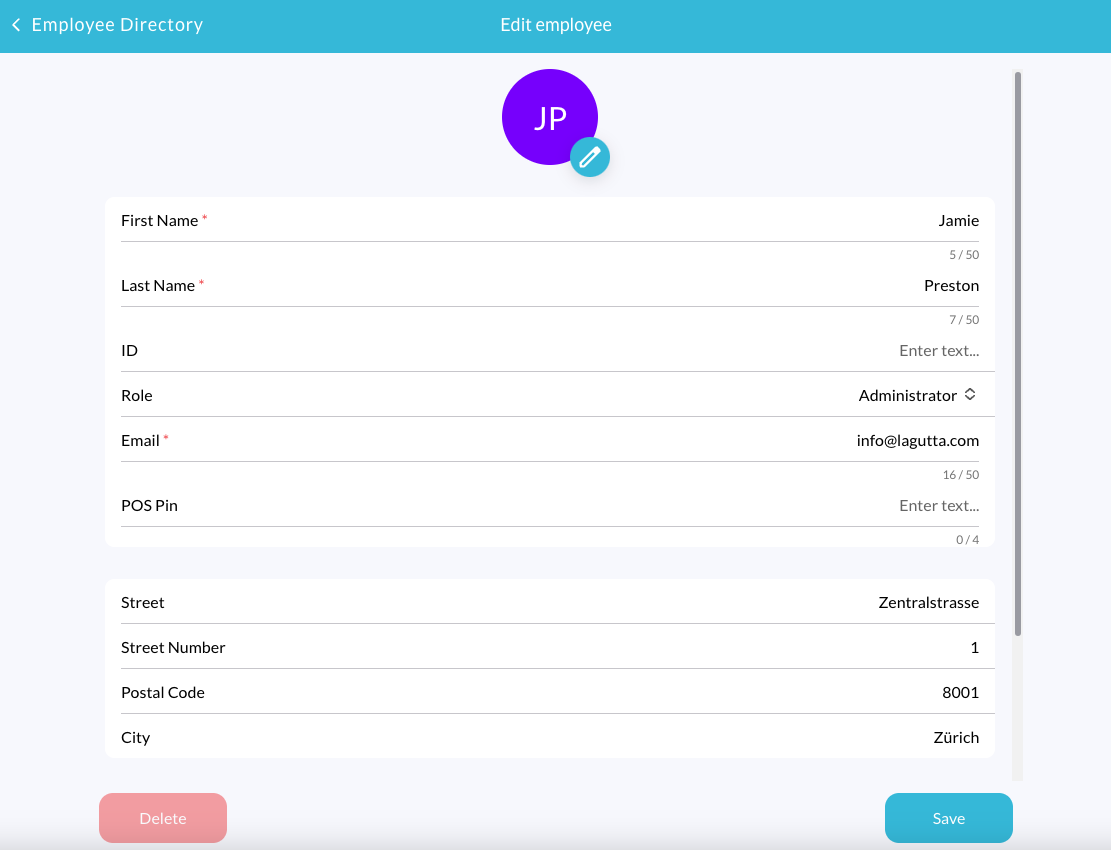
In the employee form, you can enter the following details:
- Profile Picture (Optional): Choose an employee icon, upload a photo, or leave it blank (in which case, the first letters of the employee’s name will be used as the display icon).
- First Name & Last Name (Mandatory): Enter the employee’s full name.
- Employee ID (Optional): Assign an internal employee ID for reference, which can also be printed on receipts and order confirmations
- Role (Mandatory): Assign a role to your employee based on their responsibilities. By default, there are three roles: Administrator, Manager, and Cashier. Learn How to Add or Manage Employee Roles & Permissions
- Email (Mandatory/Optional):
- If the employee’s role only requires POS access via a PIN (e.g., a Cashier), an email address is optional.
- If the employee’s role includes Back Office access or Manage POS (e.g., a Owner, Store Manager), an email address is required. In this case, an “Invite User” checkbox will appear. Enabling this option will send an invitation email for the employee to confirm their email and set up a password for Back Office or POS login.
- PIN Code (Mandatory): A 4-digit PIN code used to access the Lagutta POS.
- Address (Optional): Store the employee’s address if needed.
5. Assign Employee to Stores
If you have multiple stores, you can assign employees to specific stores by selecting them from the list.
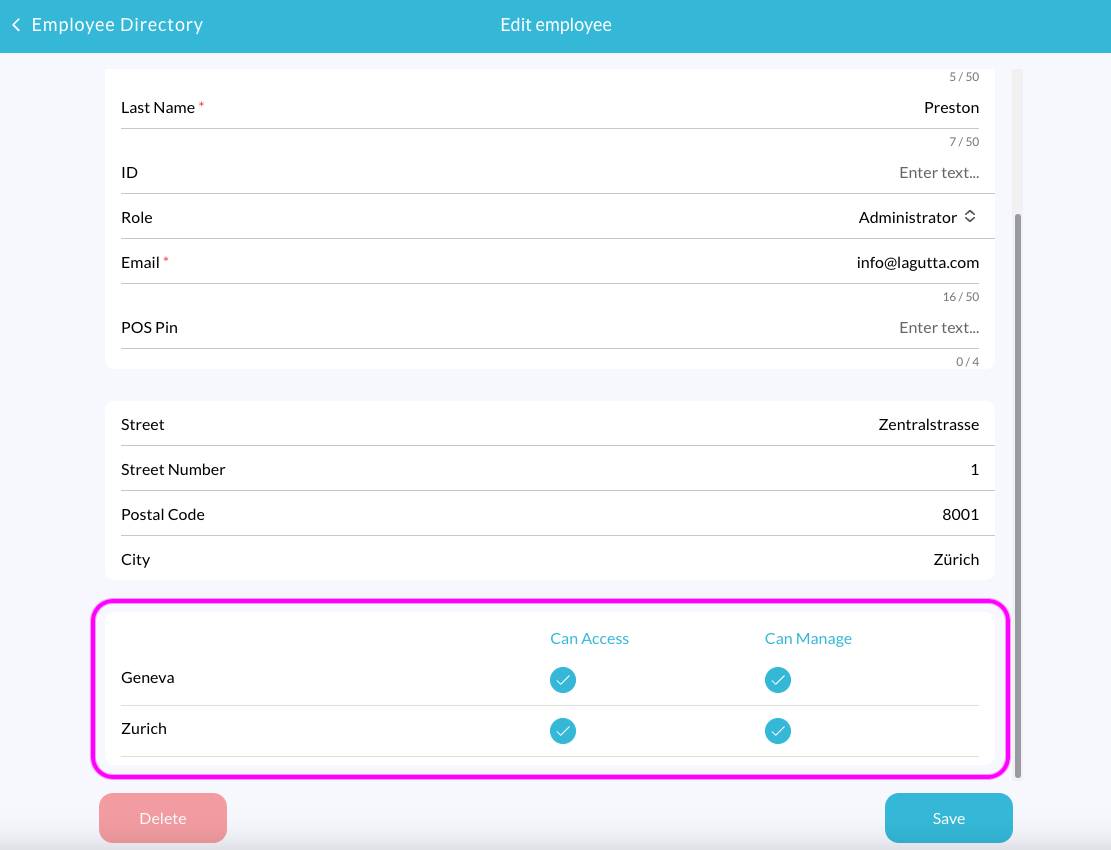
Each store assignment includes two permission levels, depending on the selected role.
- Can Access POS: The employee can use their PIN code to access an already authenticated POS.
- Can Manage POS: The employee can log into the POS using their email and password. If selected, “Can Access” is automatically enabled.
Difference Between “Can Access” and “Can Manage”
- Can Manage POS If the employee role includes the Manage POS permission, they can log into the POS using their email and password. This is primarily for store owners and managers.
- Can Access POS
This permission allows employees to use their 4-digit PIN to access POS functions without requiring full login credentials. It is typically used for cashiers and store employees.
6. Save the Employee Profile
Once all details are entered, click Save to finalize the employee setup. The new employee will now appear in the Employee Directory.