Just signed up for Lagutta? This quick guide walks you through the essential first steps to get your system up and running — from setting up taxes and payment methods to adding your first products and accessing the POS app.
Step-by-Step Guide to Setting Up Lagutta POS
1. Add Taxes to Your Account
Start by configuring taxes to ensure accurate pricing. Set up applicable tax rates (e.g. VAT) in the Back Office.
2. Add Your Payment Methods
Define how customers can pay — such as Cash, Card, SumUp, or Invoice — by configuring your payment methods in the Back Office.
3. Add and Manage Employees
The person who registered is automatically added as an employee with admin rights. You can assign a PIN for POS login or add more employees with specific roles.
4. Create Categories
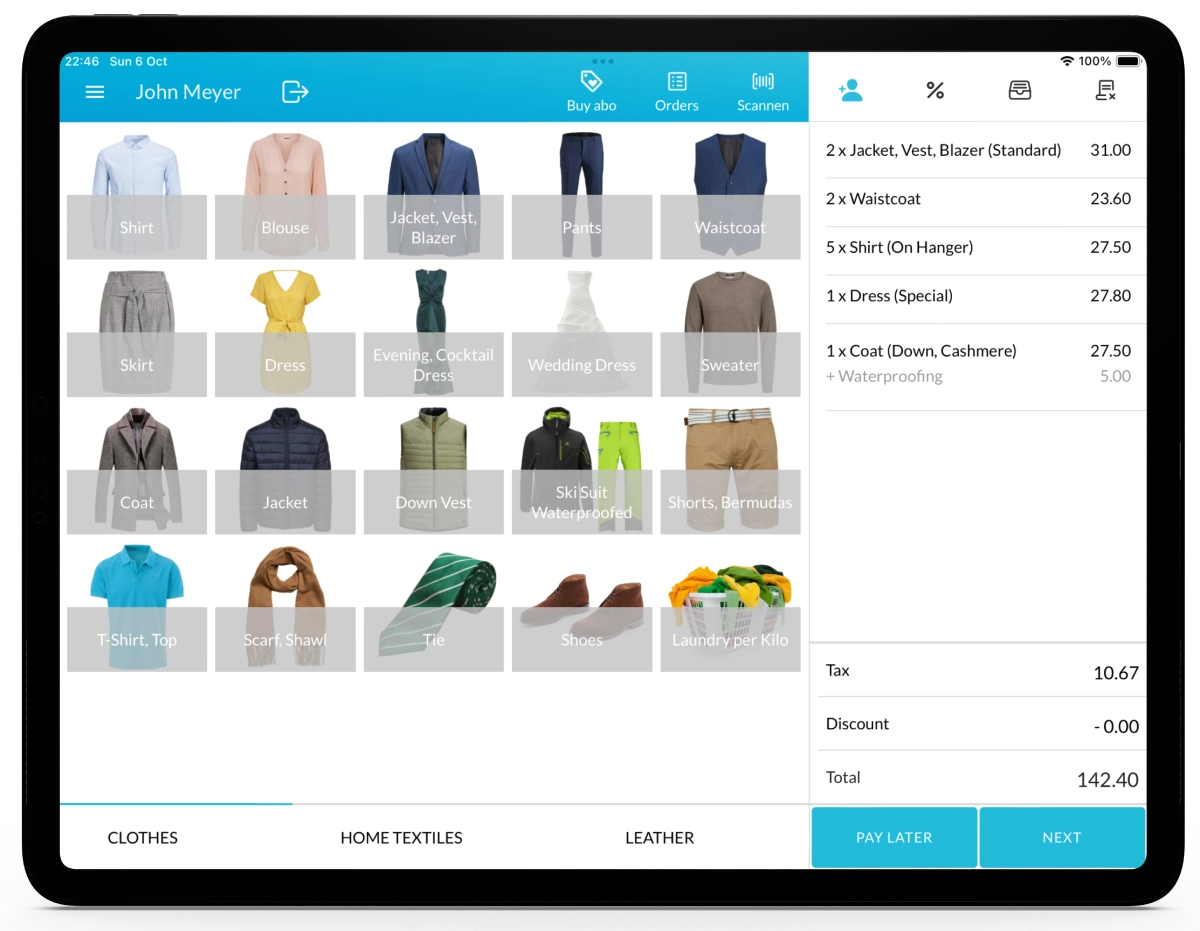
Before adding items, you need to create at least one category. Categories help organize your items and appear as tabs in the Lagutta POS app.
5. Add Products or Services
Now you can add and configure your services or products, including names, prices, and VAT and assign them to Categories.
6. (Optional) Add Tags, Abos, Discounts & More
Enhance your product setup with optional features like Subscriptions (Abos), Tags, Discounts, and Extra Charges.
7. Download the Lagutta POS App
On your iPad, open the App Store and search for Lagutta POS, or use this direct link to download the app.
8. Log In and Get Started
Launch the app and log in using your Lagutta account email and password.
If you’ve added multiple employees, select the employee and sign in using their PIN.
9. Create Your First Order
Once signed in, you’re ready to process your first order.