Tags in Lagutta POS let you mark specific items or services with additional notes or instructions such as “Stain,” “Alteration,” or “Delicate.” These tags help staff handle items correctly and ensure special instructions are followed.
Step-by-Step Guide to Applying Tags to an Item when Creating an Order
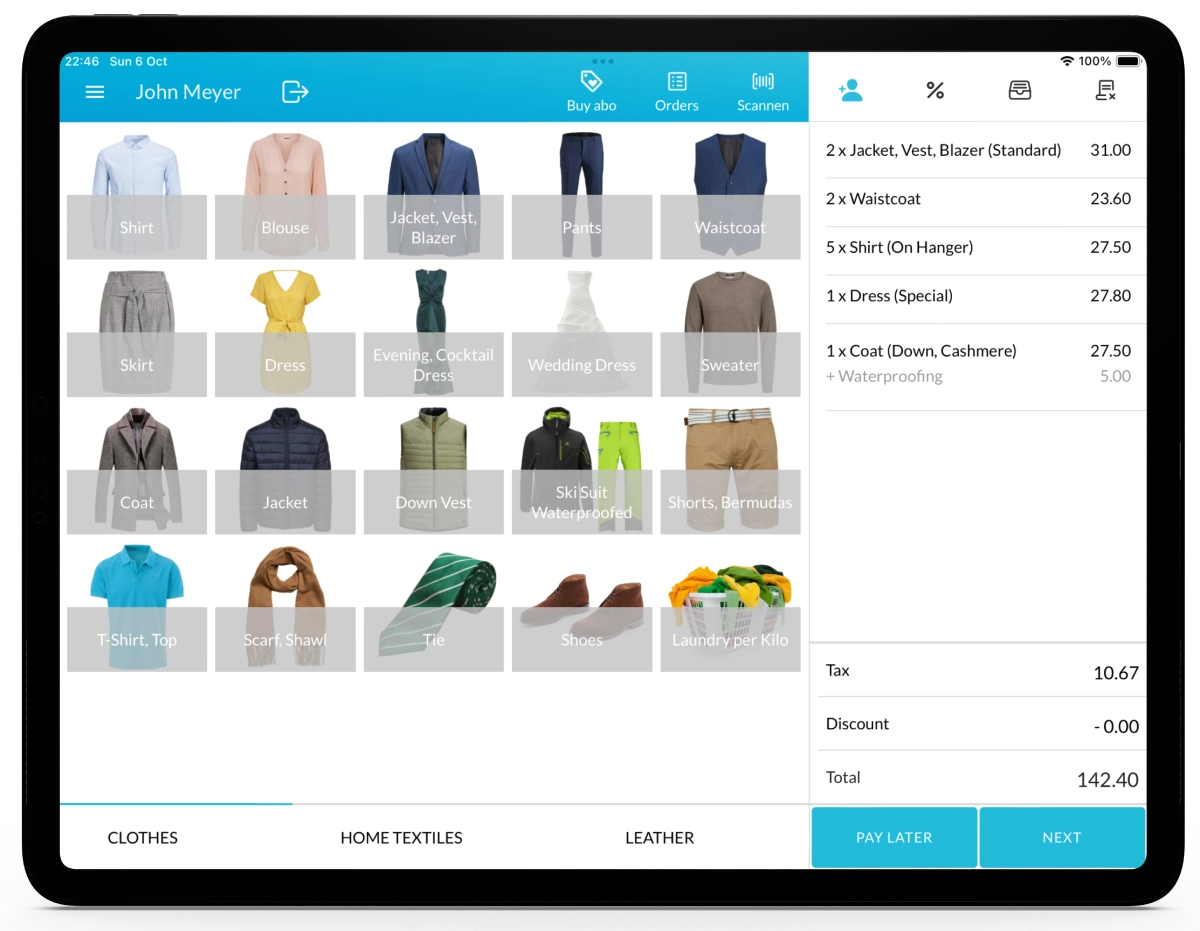
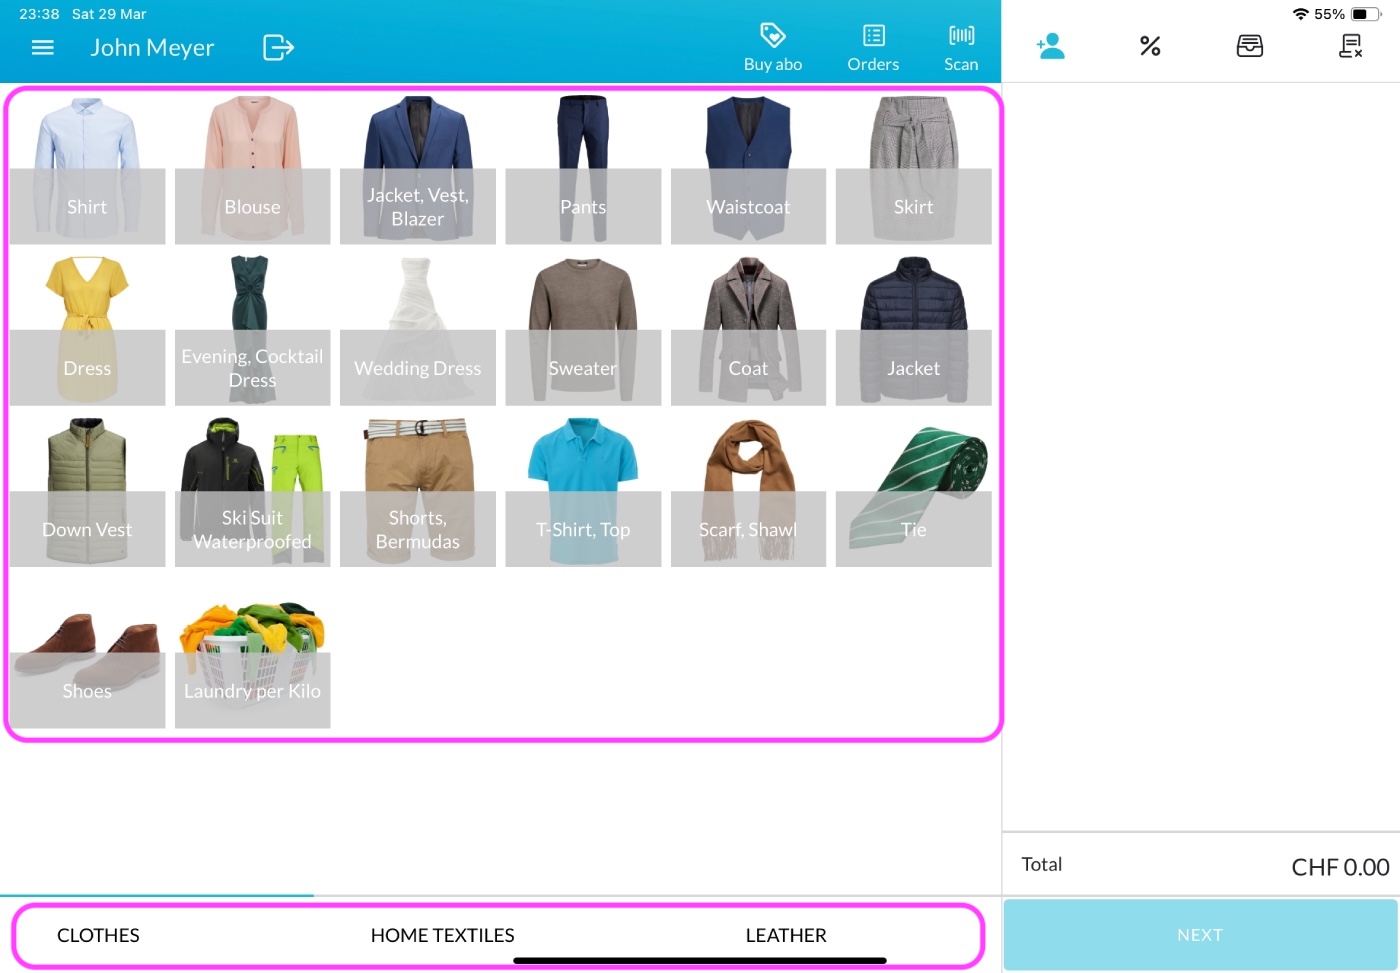
1. Navigate to the Sales Page in Lagutta POS
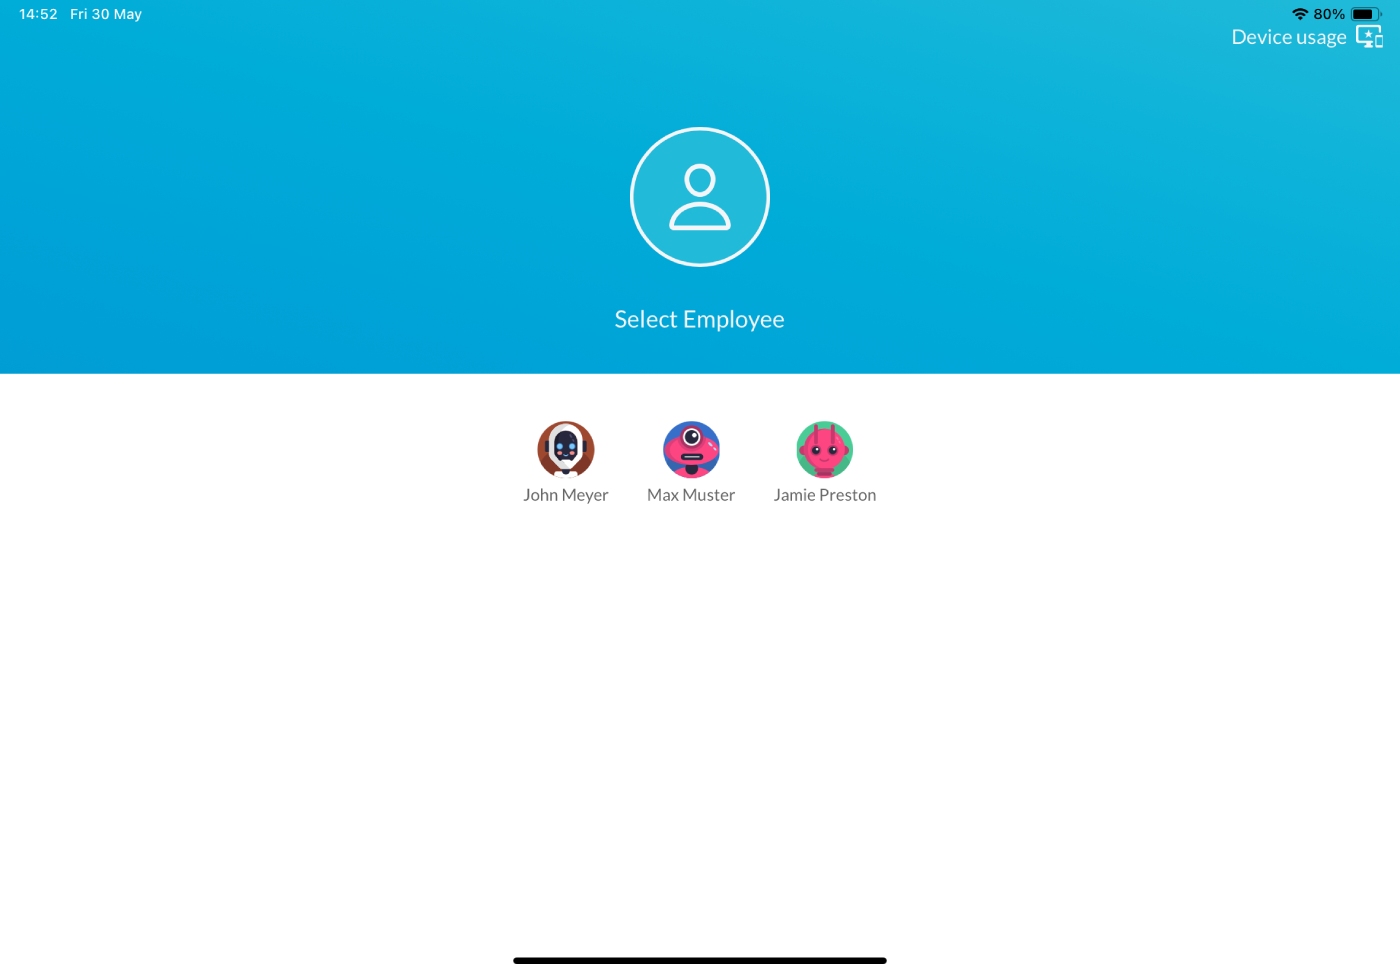
Open the Lagutta POS app and sign in with your employee PIN to access the Sales Page. If you’re on another page, tap the Menu icon and select Sales Page.
Note: This guide assumes you’re already familiar with creating orders. For full instructions, see:
How to Create a New Order guide.
2. Select an Item or Service
On the Sales Page click on the desired Item or Service to open the Item Details window. Learn How to Add and Configure Items or Services
3. Apply Tags to the Item or Service
In the Item Details window, below the quantity selector, you’ll see all Tags that are assigned to the selected item or service. Learn How to Add Tags in the Back Office
- Select one or multiple tags as needed. Selected tags will be highlighted.
- The applied tags will also be printed on the customer receipt and, if configured, on the item tags/labels.
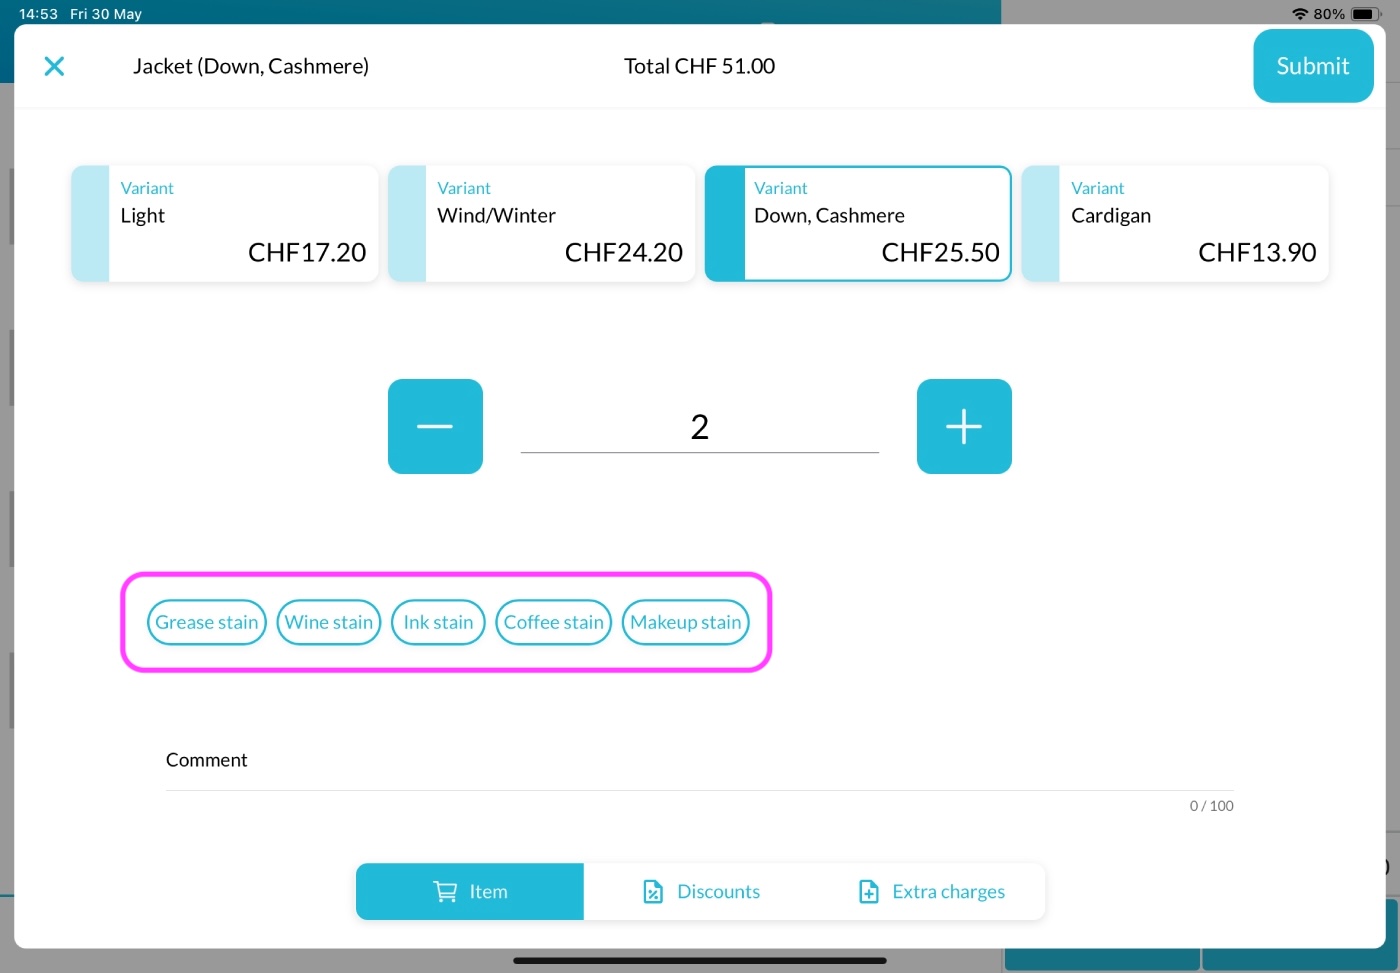
Once configured, click the Submit button to add the item with its selected tags to the cart on the right side of the Sales Page.
4. Finalize the Order
Continue with the order process, such as selecting a pickup date or payment method. Learn How to Create a New Order